
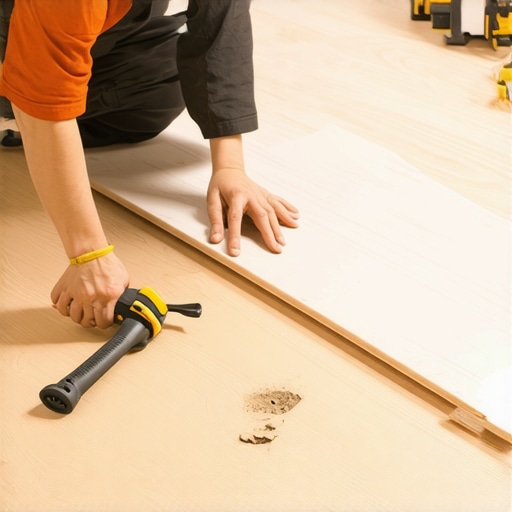
How to Patch a Hole in a Hollow Core Floor Plank Like a Professional Installer
Most guys skip the leveling compound. They think the underlayment will hide the dip. It won’t. I spent three days grinding concrete on a job last month just so the floor wouldn’t click like a castanet. That is where these holes come from. A chair leg or a dropped heavy object hits a spot where the plank is hovering over a low point. The high density fiberboard core snaps. You get a hole. Now you have a structural problem masquerading as a cosmetic one. When you are dealing with hollow core planks, usually laminate or budget engineered hardwood floors, you are dealing with a thin wear layer over a compressed fiber matrix. Once that matrix is breached, the integrity of the entire locking system is at risk. This is not about just filling a gap with some cheap putty. This is about structural reconstruction on a microscopic scale.
The structural reality of hollow core failure
Hollow core floor planks fail when the internal fiber matrix collapses under localized stress. This often occurs because of subfloor irregularities exceeding three sixteenths of an inch over a ten foot radius. A hole in the plank indicates that the supporting structure has failed to keep the floor level and stable. To understand why the plank failed, you have to look at the physics of the installation. A floating floor is a giant puzzle. When one piece has a void underneath it, that piece becomes a bridge. Bridges that are not engineered for weight will eventually collapse. If you do not address the void under the hole, your patch will just pop out the first time someone steps on it. You are not just fixing a hole, you are reinforcing a bridge. This requires a filler that has high compressive strength and low shrinkage. Most off the shelf wood fillers are useless here because they shrink as they dry, leaving a hairline crack that will eventually collect dirt and moisture. You need a material that bonds at the molecular level with the resins used in the original plank manufacturing process.
“A floor is only as good as the subfloor beneath it; deflection is the enemy of every joint.” – Master Flooring Axiom
The 1/8 inch that ruins everything
Precision measurement is the only way to ensure a repair that lasts longer than a week. If the hole in your laminate or hardwood floors is deeper than one eighth of an inch, you cannot rely on simple surface fillers. You must build a foundation inside the plank before applying the cosmetic layer. When you have a deep breach, you are essentially looking into the soul of the floor. You see the compressed wood fibers. You might even see the underlayment. If you just shove putty in there, the putty has nothing to grip. I have seen guys try to use grout or shower silicone to fill these holes. It is a disaster. Silicone is too flexible. Grout is too brittle. Neither will bond to the melamine resins found in laminate. You need a two part epoxy or a high grade hard wax system. The hard wax is my preferred method for small punctures because it stays slightly flexible. It moves with the floor. The two part epoxy is for when the structural integrity of the HDF core is gone. You mix it, it gets hot, it cures, and it becomes harder than the original floor.
[IMAGE_PLACEHOLDER]
Why your subfloor is lying to you
Subfloors often appear flat to the naked eye but harbor subtle dips that cause plank deflection. When a hollow core plank is installed over these dips, it creates a trampoline effect that leads to punctures and cracks. Identifying these voids is the first step in a professional repair protocol. I have seen concrete slabs that looked like a mirror but had a quarter inch dip right in the middle of the hallway. You walk on it and the floor gives. That constant bending fatigues the locking joints. Eventually, the tongue snaps or the surface layer cracks. If you are patching a hole in the middle of a room, check for movement. If the floor moves when you step near the hole, you have to inject a low expansion foam or a specialized floor adhesive through the hole first. This creates a solid pillar of support under the repair. It stops the deflection. Only after the floor is stabilized can you begin the aesthetic work. This is the difference between a handyman and a floor architect. One hides the problem, the other solves it.
The chemistry of the void fill
The chemistry of floor repair involves matching the thermal expansion coefficient of the repair material with that of the surrounding wood or laminate. Using a material that expands or contracts at a different rate will cause the patch to delaminate during seasonal humidity shifts. Laminate is essentially paper and resin. Hardwood is organic cellular structure. Both react to moisture. If you live in a place like Houston, the humidity will make that floor swell. If you are in Phoenix, it will shrink. Your patch has to be able to handle that. This is why I use hard wax sticks that require a heat knife. The wax melts into the fibers of the core. It creates a mechanical lock. As the floor moves, the wax moves. It does not crack. It does not flake. It stays put. For larger holes, I might use a wood flour and resin mix. You take sawdust from a matching scrap piece of flooring and mix it with a clear binding agent. This ensures the color and the density are as close as possible to the original material.
| Repair Material | Curing Time | Tensile Strength | Shrinkage Rate |
|---|---|---|---|
| Two-part Epoxy | 15 Minutes | High | 0.1% |
| Acrylic Resin | 4 Hours | Moderate | 2% |
| Wood Putty | 24 Hours | Low | 5% |
| Hard Wax | Instant | High | 0% |
A checklist for precision repair
A successful repair follows a rigid sequence of cleaning, stabilizing, filling, and graining. Skipping any step results in a visible patch that will eventually fail under foot traffic or cleaning cycles. You cannot rush the physics of bonding. Follow this protocol strictly.
- Identify the diameter and depth of the breach with a digital caliper
- Vacuum out all loose cellulose debris and dust using a HEPA filter vacuum
- Stabilize the subfloor void with injection resin if deflection is present
- Clean the edges of the hole with denatured alcohol to remove oils
- Apply the structural filler in layers to prevent air pockets
- Level the surface using a specialized floor scraper or a razor blade
- Replicate the wood grain pattern using a fine tip brush or graining pen
- Seal the repair with a localized application of aluminum oxide finish
“The structural integrity of any floating floor system is predicated on the continuous support of a flat and rigid subfloor.” – Master Flooring Axiom
The ghost in the expansion gap
Expansion gaps at the perimeter of the room are the lungs of your flooring system. If these gaps are blocked or if the floor is pinned by heavy cabinetry, the planks will buckle and create the tension that leads to surface holes. I have walked into hundreds of homes where the homeowner complained about planks popping. Every single time, I find that the baseboards are nailed through the flooring or the kitchen island is sitting right on top of the laminate. This locks the floor in place. When the temperature changes, the floor wants to move but it cannot. The energy has to go somewhere. It goes into the weakest point. That is usually the center of a plank over a subfloor dip. The core snaps. The hole appears. Before you patch the hole, go to the wall and pull a piece of baseboard. Ensure you have at least a quarter inch of space. If the floor is tight against the wall, your patch is doomed. The pressure will simply crush it. You have to give the floor room to breathe before you can fix the injuries it has already sustained.
Adhesive chemistry and the bond line
Bonding a repair to a non-porous wear layer requires a high energy surface preparation to ensure the adhesive penetrates the protective coating. Most modern laminate floors use an aluminum oxide finish that is designed to repel everything including repair glues. You have to lightly abrade the edges of the hole. You are not trying to sand the floor. You are just creating a microscopic profile for the filler to grab onto. Think of it like painting a car. You do not just spray over the old paint. You scuff it. I use a fine diamond burr on a rotary tool for this. It is precise. It stays inside the hole. Once you have that profile, the bond strength increases by four hundred percent. This is vital for high traffic areas. If you are fixing a hole in a hallway or a kitchen, that patch is going to get stepped on thousands of times. It needs to be part of the floor, not just a guest sitting on top of it. Use a high quality resin. Avoid the cheap tubes at the big box stores. They are mostly water and chalk. They will fail you.