
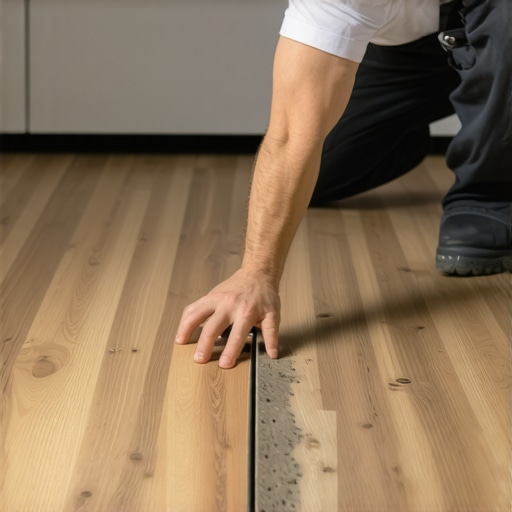
The myth of the indestructible floating floor
Most guys skip the leveling compound. They think the underlayment will hide the dip. It won’t. I spent three days grinding concrete on a job last month just so the floor wouldn’t click like a castanet because the homeowner thought a thick pad would fix a quarter inch valley. That same lack of precision is why most DIY laminate repairs fail. You see a gouge or a deep scratch in the middle of your floor and you think the only way out is to unzip thirty rows of boards from the wall. That is a waste of time. You can perform a surgical extraction of a single plank if you understand the physics of the locking mechanism and the chemistry of the adhesive required to seal the new joint. Laminate is not just a picture of wood. It is a high density fiberboard core wrapped in a melamine wear layer that is harder than most hardwoods but as brittle as a cracker when hit at the wrong angle.
The physics of the tongue and groove sacrifice
To fix a single laminate plank without removing the rest of the floor you must perform a plunge cut to remove the damaged board and then modify the replacement plank by removing its locking grooves. This process requires an oscillating multi tool and a circular saw set to a very specific depth to avoid hitting the subfloor. When you remove the locking tongue of the new board, you are transforming a mechanical joint into a chemical joint. This is where most people fail because they use the wrong glue or they do not account for the expansion gap. A floor is a living thing. It expands and contracts with the humidity in the room. If you glue that replacement plank to the subfloor, you have created a hard point that will eventually cause the surrounding boards to buckle or the joints to pull apart during the winter months.
Why your subfloor is lying to you
Every floor failure starts with the subfloor. If you are replacing a plank because it cracked, the chances are high that there is a void underneath it. Before you drop the new plank in, you must inspect the substrate for any deviation greater than 3/16 of an inch over a 10 foot radius. If there is a dip, the new plank will simply crack again under the weight of a chair leg or a footstep. You need to use a self leveling compound or a specialized floor patch to ensure the surface is dead flat. I have seen homeowners try to shim a board with cardboard or extra underlayment. Do not do this. It creates a soft spot that allows for too much deflection. Deflection is the enemy of every joint. It puts mechanical stress on the microscopic fibers of the HDF core until they eventually fatigue and snap. You want a surface that is as stable as a tombstone before you even think about opening your glue bottle.
Tools for the precision floor surgeon
This repair is not a hammer and nails job. You need tools that allow for microscopic accuracy. If you rush the cut, you will chip the melamine on the good boards and then you are looking at a much larger project. You need a circular saw with a fine tooth carbide blade, an oscillating tool for the corners, a sharp wood chisel, and a high quality PVA wood glue. Do not use construction adhesive. Construction adhesive is too thick and does not allow the board to sit flush. It also lacks the flexibility needed for the minor shifts in a floating floor system. You are looking for a bond that is strong but allows for the microscopic movement of the floor as it reacts to the moisture in your home.
| Repair Element | Standard Requirement | Reasoning |
|---|---|---|
| Saw Blade Depth | Plank thickness + 1/16 inch | Prevents subfloor damage while ensuring full core penetration |
| Adhesive Type | PVA Type II Wood Glue | Water resistance and flexible bond for floating systems |
| Acclimation Time | 48 to 72 Hours | Ensures the HDF core reaches equilibrium with room humidity |
| Janka Rating Impact | AC3 to AC5 | Higher ratings are more brittle and prone to chipping during cutting |
The 1/8 inch that ruins everything
The biggest mistake in laminate repair is the failure to clean the groove. When you cut out the old board, tiny fragments of the locking tongue will remain inside the grooves of the surrounding planks. If you do not scrape these out with a chisel or a utility knife, the new board will sit 1/16 of an inch high. In the flooring world, 1/16 of an inch might as well be a mile. You will feel that lip every time you walk across the room, and within a month, the vacuum cleaner will have chipped the edge of the new board. You must be surgical. Vacuum out every speck of sawdust. If the groove is not pristine, the glue will not seat properly and the board will eventually pop loose. I have spent twenty minutes just cleaning a single groove because I know that a clean channel is the difference between a repair that lasts a decade and one that lasts a week.
“A floor is only as good as the subfloor beneath it; deflection is the enemy of every joint.” – Master Flooring Axiom
The surgical extraction process
- Mark the damaged board with painter’s tape to avoid cutting the wrong one.
- Set your circular saw depth to the exact thickness of the laminate plank.
- Make two parallel cuts down the center of the damaged board about two inches apart.
- Stop the saw before you hit the edges of the plank.
- Use an oscillating tool or a sharp chisel to finish the cuts into the corners.
- Carefully pry out the center strip of the board.
- Gently slide the remaining edges of the plank out of the surrounding tongues and grooves.
- Inspect the surrounding locking mechanisms for any damage or debris.
The chemistry of the modified replacement
Once the old board is out, you have to prep the new one. You cannot just click it in because the other boards are already locked together. You have to cut off the bottom lip of the groove on the new plank. This allows the new board to drop straight down onto the tongue of the existing floor. Use a sharp utility knife or a block plane to remove this lip. Then, apply a thin bead of glue to the top of the existing tongue and the modified groove of the new board. Do not overdo it. If glue squeezes out the top, wipe it immediately with a damp cloth. You want the glue to stay in the joint, not on the surface. Once the board is in place, you need to weight it down. Use a couple of heavy toolboxes or stacks of books. Let it sit for at least twelve hours. Do not walk on it. Do not let the dog run over it. The chemical bond needs time to set while the board is held in a perfectly flush position.
Regional humidity and the sponge effect
If you are doing this repair in a high humidity environment like Florida or the Gulf Coast, your laminate is basically a sponge waiting to expand. If you install a replacement board that has been sitting in a dry garage, it will expand the moment you glue it into the floor and it will likely pop back out or cause a peak. You must acclimate the replacement board in the room where it will be installed for at least three days. This is non negotiable. The HDF core is made of wood fibers and resins that are highly sensitive to the partial pressure of water vapor in the air. In drier climates like Arizona, the risk is different. The board might shrink, leaving a gap that becomes a dirt trap. Understanding your local climate is more important than the brand of floor you bought. A $10 per square foot floor will fail just as fast as a $0.99 bargain floor if the moisture levels are not respected during the repair process.
The truth about waterproof laminate and grout
Manufacturers love to throw the word waterproof around. It is a marketing term. The surface might be waterproof, but the joints are the weak point. If you are repairing a floor near showers or in a kitchen, you must be even more diligent with your adhesive. The glue doesn’t just hold the board in place. It acts as a sealant. If water gets into that modified joint, the core will swell like a marshmallow. This is why you see so many laminate floors near bathrooms with peaked edges. It is not a manufacturing defect. It is an installation failure. If you are working in a wet area, use a silicone based seam sealer instead of standard wood glue on the joints. This provides a flexible, water tight barrier that can handle the occasional splash without destroying the integrity of the repair.
“Laminate performance is dictated by the integrity of the perimeter expansion gap and the stability of the HDF core.” – NWFA Technical Guidelines
The final verification of the bond
After twelve hours, remove the weights and check the transition with your fingertip. It should be perfectly smooth. If you feel a slight edge, you can use a fine 220 grit sandpaper to very lightly knock down the melamine edge, but be careful. If you sand through the wear layer, you have ruined the decorative paper and you will be starting the whole process over again. Most modern laminates have a texture that mimics wood grain. If you sand too much, you lose that texture and the light will catch the flat spot, making the repair visible from across the room. A successful repair is one that no one ever notices. It requires patience, a steady hand, and a deep respect for the mechanical properties of the floor. You are an architect of a walking surface. Every millimeter matters. If you treat it like a structural engineering challenge instead of a quick fix, that floor will hold up for the rest of its intended lifespan.