
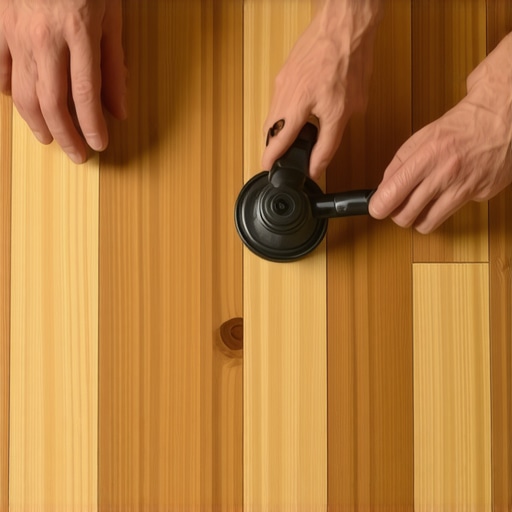
I spent three days grinding concrete on a job last month just so the floor would not click like a castanet. Most guys skip the leveling compound. They think the underlayment will hide the dip. It will not. When that dip causes a laminate plank to crack or the tongue to snap, you have two choices. You can pull up the whole floor from the wall or you can perform a surgical strike. We call it the suction cup method. It is the only way to save a floor without destroying the baseboards and transitions that you spent hours installing. I have seen fifteen thousand dollar wide plank floors ruined because an installer did not check the crawlspace humidity, but laminate brings its own set of mechanical headaches that require a steady hand and a heavy duty vacuum grip.
The structural reality of floating floor tension
A floating laminate floor operates as a single monolithic unit held together by tongue and groove friction. When one plank is damaged, the tension of the surrounding boards must be managed carefully to allow for a localized replacement without compromising the integrity of the entire locking system. Laminate is not wood. It is a photograph of wood glued to a high density fiberboard core. This HDF is essentially sawdust and resin compressed under extreme pressure. The specific gravity of high quality HDF usually sits between 800 and 900 kilograms per cubic meter. This density makes it stable but brittle. If you try to pry a plank up, the tongue will shatter. The suction cup method avoids prying by using vertical lift and horizontal slide physics. You are essentially tricking the floor into thinking it is still connected while you swap the hardware. This requires understanding the expansion gap at the perimeter. If your floor is tight against the drywall, the suction cup will not move the plank even an inch. You need that 3/8 inch of breathing room to shift the row.
Tools for a surgical extraction
Success in laminate repair depends on the quality of your vacuum tools and the sharpness of your oscillating blades. You cannot use cheap hardware store suction cups designed for lifting glass. You need heavy duty double headed aluminum lifters capable of pulling at least 100 pounds of sheer force.
- Double-headed heavy-duty suction cups with vacuum levers
- Oscillating multi-tool with a high-carbon steel flush cut blade
- Wood glue with a high solids content and a fine applicator tip
- A vacuum cleaner with a HEPA filter to clear the grooves
- Blue painter’s tape for marking and protection
- A rubber mallet for micro-adjustments
- PVA Type II adhesive for the replacement tongue
Physics of the relief cut
The relief cut is the most dangerous part of the repair because it involves cutting through the laminate core without hitting the underlayment or the subfloor. A shallow cut prevents the damaged plank from releasing its grip on the surrounding locking mechanisms while protecting the substrate integrity. You start by marking a rectangle inside the damaged plank, about two inches from every edge. You use the oscillating tool to plunge into the center. This relieves the internal tension of the HDF. Once the center is removed, you have a hole that allows you to see exactly how the tongue and groove are locked. You then make diagonal cuts toward the corners. This is where the suction cup comes in. You are not just pulling up. You are sliding the neighboring planks away to create the 1/8 inch of space needed to lift the damaged piece out without grinding the neighboring tongues into dust.
“A floor is only as good as the subfloor beneath it; deflection is the enemy of every joint.” – Master Flooring Axiom
Why standard wood glue fails the HDF test
High density fiberboard is highly absorbent on its raw internal edges which causes standard wood glue to soak in too quickly. This results in a starved joint that will click and pop every time someone walks over the repaired area of the laminate floor.
| Adhesive Type | Solids Content | Open Time | Best Use Case |
|---|---|---|---|
| Standard PVA | 35 percent | 10 minutes | General carpentry only |
| High-Solids PVA | 55 percent | 20 minutes | HDF core repair |
| Polyurethane | 100 percent | 30 minutes | Structural bonding |
| Cyanoacrylate | 99 percent | 30 seconds | Quick chip repair |
The ghost in the expansion gap
Every laminate installation requires a perimeter expansion gap to account for the hygroscopic nature of the wood fibers in the core. If the gap is missing, the suction cup method will fail because the floor has no room to shift during the repair process. I always tell homeowners that the baseboard is not there to look pretty. It is there to hide the gap that keeps your floor from buckling. When we use the suction cup, we are utilizing that gap. We use the tool to pull the entire row toward the wall. This opens up the joints just enough to drop the new plank in. If you have grout or tile nearby, you have to be even more careful. Transitioning from a floating floor to a fixed surface like a tile shower requires a T-molding that allows for this movement. Without it, the floor will eventually pinch and the suction cup method will be the least of your worries.
“Proper acclimation of laminate flooring is the only way to ensure the locking profile remains within manufacturer tolerances during installation and repair.” – NWFA Technical Guidelines
Professional steps for suction cup plank replacement
The replacement process involves removing the bottom lip of the groove on the new plank to allow it to drop vertically into the space. This modification converts a locking joint into a glued lap joint that must be weighted down for at least twelve hours. First, clean the area perfectly. Any bit of sawdust in the groove will prevent the new plank from sitting flush. I use a vacuum and then a damp microfiber cloth. Next, take the new plank and use a sharp chisel or your multi-tool to shave off the protruding lower lip of the groove. You are not touching the tongue. You are removing the part that prevents it from dropping in. Apply a bead of high-solids PVA glue to the remaining lip of the existing planks. Use the suction cups to slide the surrounding floor away, drop the new plank in, and then use the suction cups to pull the floor back together. It is a game of millimeters. If you are off by the thickness of a business card, the floor will catch the light and the repair will be visible. Place twenty pounds of weight on the joint. Do not walk on it. Do not let your dog walk on it. Let the chemistry of the adhesive do its job. While many people want the thickest underlayment, too much cushion actually causes the locking mechanisms on LVP and laminate to snap under pressure because it allows for too much vertical deflection during this sliding process.
Avoiding the disaster of locked kitchen islands
A major cause of plank failure is the installation of heavy kitchen islands or cabinetry directly on top of a floating laminate floor. This pins the floor in place and prevents the natural expansion and contraction that occurs with seasonal humidity changes. When a floor is pinned, the tension builds up until the weakest point snaps. Usually, that is a joint in a high traffic area. If you find yourself replacing the same plank over and over, check if the floor is trapped under a heavy object. You might need to cut the laminate around the island and install a molding to truly fix the problem. This is the difference between a handyman and a floor architect. One fixes the symptom. The other fixes the physics. If you are working in a humid environment like Houston, you must be even more diligent. The core will swell and shrink more aggressively there than in a dry climate like Phoenix. Always measure the moisture content of the subfloor and the laminate before you start the repair. They should be within two percent of each other. This ensures that the new plank will not immediately shrink or expand and pull away from your glue joint. It is about the long game. A repair should last as long as the floor does. Anything less is just a waste of time and glue.