
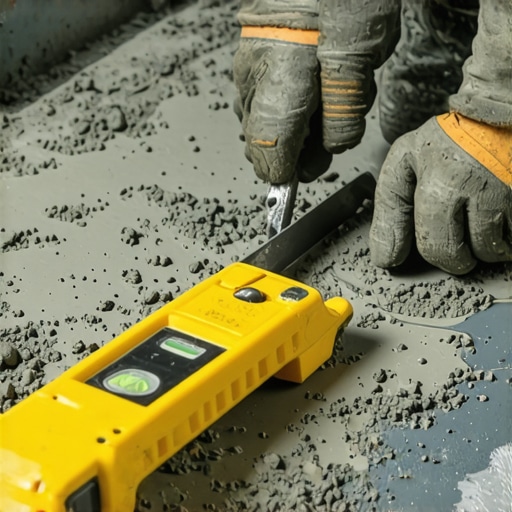
Most guys skip the leveling compound. They think the underlayment will hide the dip. It won’t. I spent three days grinding concrete on a job last month just so the floor wouldn’t click like a castanet. That is the cold reality of the trade. If you do not start with a flat surface, you are building a failure. In the world of showers and wet rooms, this negligence leads to standing water and mold. I have smelled enough rotten subfloors to know that the secret to a professional shower pan lies in the humble bucket of dry-pack mortar. It is a mix of sand and cement that acts as the structural spine of your bathroom. When you are dealing with showers, the margin for error is zero. You are not just laying tile; you are engineering a drainage system. People get distracted by the pretty grout colors or the expensive laminate in the hallway, but the real work happens on your knees with a straightedge. You need to understand the physics of compression and the chemistry of hydration if you want a floor that lasts forty years instead of four.
The chemistry of the perfect deck mud
Dry-pack mortar for shower pans is a specific mixture of one part Portland cement to four or five parts sharp sand, hydrated to the point where it holds its shape when squeezed. This low-water ratio prevents shrinking and provides high compressive strength required for heavy tile and stone installations. This mixture, often called deck mud, is the industry standard for creating the sloped base of a shower. Unlike thin-set which is designed for bonding, dry-pack is designed for volume and structural integrity. The Portland cement acts as the binder, while the sand provides the bulk. If you add too much water, the mix becomes soup and will shrink as it dries, leading to cracks. If you add too little, the cement will not fully hydrate, leaving you with a sandy mess that crumbles under your boots. I look for the ball test. You grab a handful of the mix and squeeze it. It should stay in a solid clump without sticking to your glove or dripping water. This is the precise balance that allows you to pack it into place and screed it to a perfect 1/4 inch per foot slope toward the drain.
“A floor is only as good as the subfloor beneath it; deflection is the enemy of every joint.” – Master Flooring Axiom
Why 1/4 inch per foot is the law
A shower pan must slope exactly 1/4 inch per vertical foot toward the drain to ensure gravity overcomes the surface tension of the water. This slope is mandated by the TCNA to prevent standing water which causes grout discoloration and bacterial growth in the mortar bed. In my twenty-five years of doing this, I have seen too many installers try to eyeball the pitch. You cannot eyeball physics. Water is lazy. It will find the smallest dip or birdbath and sit there. Over time, that water seeps into the grout and stays in the mud bed, creating a swamp under your feet. When we talk about showers, we are talking about management of moisture. This is why the pre-slope is the most ignored yet important part of the job. You do not just put the mud on the liner. You put a sloped layer of mud under the liner. This ensures that even if water gets past the tile, it still moves toward the weep holes in the drain assembly. This is what separates the masters from the hackers who just want to get paid and disappear.
| Material Type | Cement to Sand Ratio | Primary Use Case | Cure Time |
|---|---|---|---|
| Dry-Pack Mortar | 1:4 or 1:5 | Shower Pans and Thick Beds | 24 Hours |
| Thin-set Mortar | Proprietary | Bonding Tile to Subfloor | 12-24 Hours |
| Self-Leveling Underlayment | Polymer Modified | Correcting Floor Dips | 4-6 Hours |
| Fat Mud | 1:2 or 1:3 | Vertical Wall Patches | 24 Hours |
The ghost in the expansion gap
Thermal expansion is the invisible force that cracks tile installations when homeowners forget to leave perimeter gaps at the walls. Every material on a job site expands and contracts with temperature changes, necessitating a 1/4 inch gap around the entire shower perimeter. This gap is not a mistake; it is an engineering requirement. When the wood framing of the house moves, it pushes against the rigid mortar bed. If there is no gap, the pressure has nowhere to go but up. This results in tenting tile or cracked grout lines that look like a spiderweb. I have seen solid hardwood floors in the adjacent bedroom buckle because the installer ran the planks tight against the baseboard. The same logic applies to your shower pan. You must treat the floor as a living, moving entity. This is why we use 100 percent silicone sealant at the change of plane instead of hard grout. Grout does not flex. Silicone does. It is a small detail that determines whether the shower remains waterproof for the life of the home.
- Inspect the subfloor for deflection and structural rot before mixing mud.
- Install a pre-slope of dry-pack mortar to ensure water reaches the weep holes.
- Ensure the PVC liner is tucked properly into the corners without cutting the membrane.
- Check the mortar hydration using the squeeze test to prevent shrinkage cracks.
- Screed the surface with a straightedge to maintain a consistent 1/4 inch slope.
- Allow the mud bed to cure for at least 24 hours before applying thin-set.
The 1/8 inch that ruins everything
Precision in leveling a shower pan is measured in 1/8 inch increments across a 10 foot span to avoid lippage and drainage failures. A single high spot in the mortar bed can prevent large format tiles from sitting flat, creating sharp edges known as lippage. Many modern homeowners want those big 12 by 24 inch tiles. Those tiles are unforgiving. If your dry-pack bed has a 1/8 inch hump, that tile will teeter-totter like a seesaw. You will end up using a massive amount of thin-set to try to compensate, which is a rookie move. Thick thin-set shrinks as the water evaporates, pulling the tile down and ruining your level anyway. I spend more time with my levels and straightedges than I do with my tile saw. You have to be obsessed with the flatness of the substrate. If you are working in a humid environment like Florida or the Gulf Coast, your cure times will lag. You cannot rush the chemistry. The moisture in the air slows down the evaporation, and if you tile over