
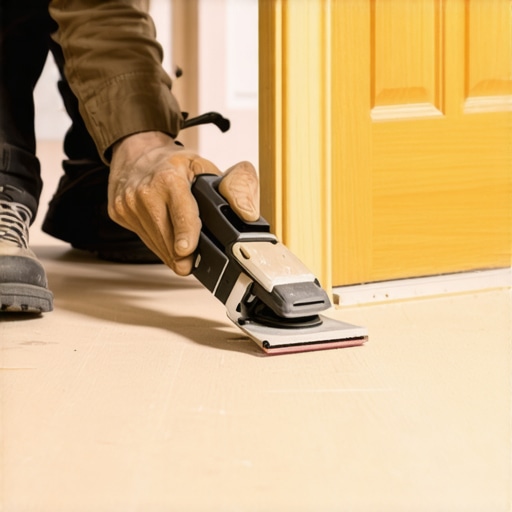
The physical reality of the transition zone
Sanding a hardwood threshold requires precision orbital movement and manual hand-scraping to avoid damaging adjacent wall surfaces or baseboards. You must utilize low-profile edging equipment, vacuum-shrouded hand sanders, and high-carbon steel scrapers to achieve a level surface without mechanical cross-grain scratches or impact marks on the vertical plane. Most guys skip the leveling compound. They think the underlayment will hide the dip. It won’t. I spent three days grinding concrete on a job last month just so the floor wouldn’t click like a castanet. That is the reality of this business. If the foundation is trash, the threshold will never sit right. When you are dealing with hardwood floors, you are dealing with a living material that reacts to every 1/8 inch of subfloor variation. A threshold is the bridge between two worlds, often moving from a solid oak plank to the grout lines of tiled showers or the floating click-system of laminate. If that bridge is not sanded perfectly flat, the finish will pool in the low spots, and the high spots will wear down to raw wood within six months of foot traffic. You smell the heat when the paper hits the wood. It is a mix of friction, old polyurethane, and the raw scent of tannins. That smell tells you if you are burning the wood or cutting it.
“A floor is only as good as the subfloor beneath it; deflection is the enemy of every joint.” – Master Flooring Axiom
The 1/8 inch that ruins everything
Subfloor flatness is the primary requirement for a successful threshold installation, as any vertical deflection under mechanical load will cause the hardwood transition to flex and crack. You must ensure the joist spacing and subfloor thickness meet NWFA standards to prevent oscillatory movement that destroys the finish bond at the wall interface. The physics of wood movement are unforgiving. A threshold is usually the highest point in a room, the piece that takes the most abuse. When you are sanding, the machine wants to walk. It wants to pull toward the wall. If you let the edger hit the baseboard, you are not just looking at a paint touch-up. You are looking at a structural gouge. I prefer a 7-inch edger with a non-marking pad, but even then, the centripetal force can be a beast. You have to lead with the left side of the guard. You have to feel the grain. Hardwood floors are not like laminate, where everything is uniform and plastic. Every board of oak or maple has a different density. If you hit a knot, the sander will jump. That jump is how you end up putting a hole in the drywall.
| Wood Species | Janka Hardness (lbf) | Initial Grit | Acclimation Time |
|---|---|---|---|
| Red Oak | 1290 | 40 Grit | 10-14 Days |
| White Oak | 1360 | 36 Grit | 14-21 Days |
| Hard Maple | 1450 | 36 Grit | 21+ Days |
| Brazilian Cherry | 2350 | 24 Grit | 30+ Days |
Why your edger wants to eat the drywall
Mechanical edgers use high-speed rotation to abrade wood fibers, creating a vortex of sawdust that can clog the abrasive and cause burn marks if the feed rate is too slow. To protect the wall, you must maintain a consistent distance and finish the perimeter zones with oscillating detail tools or manual scrapers to ensure total coverage. The edger is a blunt instrument. It is a motor strapped to a disk. When that disk is spinning at 3,200 RPM, it generates immense heat. If you linger for a second too long near the wall, the heat transfer will melt the paint on the baseboards before the wood even gets flat. This is where the chemistry of the old finish matters. If you are sanding through an old oil-modified sealer, it will gum up the paper. You will see those little black dots on your sanding disk. Those are friction-welded bits of finish and wood dust. Once that happens, the paper stops cutting and starts burning. You will see blue smoke. That is the signal to stop. You cannot push through a glazed disk. It is physics. You replace the paper or you ruin the threshold. Unlike the grout in showers, which is static, wood is constantly breathing. If you burn the surface, you seal the pores with scorched lignin, and your new stain will never take. It will look blotchy. It will look like an amateur did it.
- Check the moisture content of the threshold and subfloor using a pin-meter.
- Countersink all nails at least 1/8 inch below the wood surface.
- Vacuum the area three times between every grit progression to remove loose mineral particles.
- Use a bright LED work light at a low angle to highlight scratch patterns.
- Sharpen your hand scraper every five minutes of active use.
Hand scraping secrets for the perfectionist
Hand scraping is the essential final step for wood transitions, allowing the installer to remove circular edger marks and reach the extreme corners where power tools cannot safely operate. A properly sharpened scraper creates clean wood shavings rather than fine dust, indicating that the wood cells are being sheared cleanly for maximum finish penetration. This is where the men are separated from the boys. You get down on your knees. You feel the wood with your bare palm. Your hand can detect a deviation of a thousandth of an inch that your eyes will never see. You pull the scraper toward you, following the grain. The sound is a low whistle. If it scratches or screams, the blade is dull. I have seen guys try to use a palm sander for this. It does not work. A palm sander leaves pig-tails. It leaves those tiny little swirl marks that only show up once you put the first coat of poly on. By then, it is too late. You are already committed. You have to scrape. You have to get into that corner where the threshold meets the door casing. That is where the grout and the showers usually start, and if that transition is messy, the whole job looks like garbage.
“Acclimation is not a calendar event but a moisture content achievement.” – NWFA Protocol
The chemistry of a perfect bond
Wood finishes rely on mechanical adhesion and molecular cross-linking to provide durability and water resistance on high-traffic thresholds. You must select a finish with high solids content and ensure the temperature remains between 65 and 75 degrees Fahrenheit to allow for optimal leveling and vapor release during the curing process. Most people want the thickest underlayment, but too much cushion actually causes the locking mechanisms on floors to snap under pressure. The same logic applies to finish. People think more coats mean a better floor. Wrong. Too many coats of finish, applied too quickly, will lead to a soft film that never truly hardens. You want thin, even applications. You want the molecules to knit together. If you are using a water-based finish, you have to watch the humidity. If it is too dry, the finish will skin over before the bubbles can escape. If it is too humid, it will stay tacky for days. I have seen thresholds in coastal homes stay sticky for a week because the installer did not check the dew point. It is a science. You are not just painting a board. You are engineering a wear layer that can withstand thousands of pounds of pressure per square inch from high heels and moving furniture. You treat the wood with respect, or it will humiliate you. It will cup. It will crown. It will fail. But if you follow the grit progression, keep your scrapers sharp, and respect the wall, that threshold will outlive the house.