
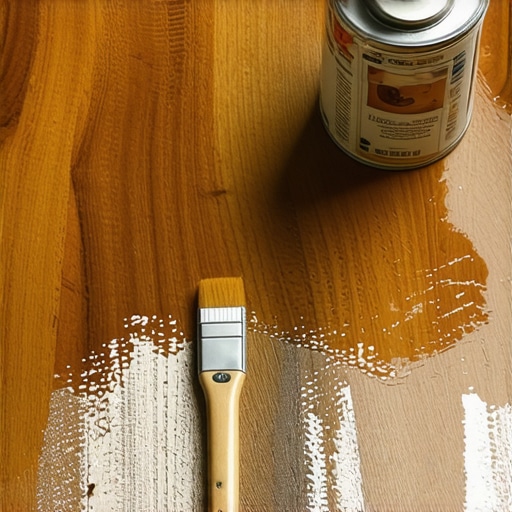
You spent hours sanding that oak. You wiped it down with a tack cloth. The first coat looked like glass. Then you applied the second coat and suddenly it looks like the surface of the moon. This is the nightmare of every floor finisher. I once walked into a house where a 15,000 dollar wide plank walnut floor was cupping so bad it looked like a potato chip because the installer did not check the crawlspace humidity and rushed the second coat of finish. Bubbles in a finish are not just a cosmetic flaw. They are a sign of a chemical or physical failure in the bond between layers. Most guys skip the leveling compound or rush the drying time. They think the finish will hide the mistakes. It will not. I spent three days grinding concrete on a job last month just so the floor would not click like a castanet. If you want a perfect finish you have to respect the chemistry of the polyurethane and the physics of the wood grain.
The microscopic war on your floorboards
Bubbling in hardwood finishes occurs when air or solvent vapor becomes trapped beneath a surface skin that has dried too quickly. This phenomenon is often caused by high temperatures, direct sunlight, or improper applicator techniques that introduce excess air into the liquid finish. When the top layer of the finish sets while the bottom layer is still off gassing, the rising gases have nowhere to go. They push upward and create a dome in the drying film. This is a common issue with oil based polyurethanes which have a much longer open time than water borne alternatives. If the room is too hot the surface of the liquid evaporates at an accelerated rate. This forms a crust. Beneath that crust the heavier solvents are still trying to find their way out. The result is a cratered mess that requires a complete screening and recoat.
“A floor is only as good as the subfloor beneath it; deflection is the enemy of every joint.” – Master Flooring Axiom
The danger of the high afternoon sun
Direct sunlight hitting a wet floor will cause localized bubbling by rapidly increasing the surface temperature of the wood. This is often called solar off gassing. The wood cells contain air. When the sun heats the wood the air inside those cells expands and pushes out. If you have a wet coat of finish sitting on top of those cells the air gets trapped. This is why I always tell people to close the blinds before they start a finishing job. You need a controlled environment. If you are working in a room with large windows you should aim to apply your finish in the early morning or late evening when the sun is not beating down on the floor. Even if you are working with laminate or other materials the principle of thermal expansion remains a factor in how coatings and adhesives behave. Unlike showers where moisture is the primary enemy here the enemy is the infrared radiation from the sun.
The chemistry behind solvent entrapment
Solvent entrapment occurs when the second coat of finish is applied before the first coat has fully cured and stopped off gassing. Many DIY installers think that because a floor is dry to the touch it is ready for the next layer. This is a mistake. Drying is the evaporation of the carrier liquid but curing is a chemical reaction where the molecules cross link. If you seal the surface with a second coat while the first is still cross linking the volatile organic compounds will be trapped. These VOCs will push up against the new film. This creates a haze or a series of tiny pinhole bubbles. You must follow the manufacturer instructions for dry times and you must account for the local humidity. In a swampy climate you might need to wait twice as long as the label suggests. Using a moisture meter on the wood is non negotiable. You should also ensure that any grout used in adjacent tile work is fully dry as the moisture from the grout can migrate into the wood grain and cause finish failures at the transitions.
| Finish Type | Drying Time | Curing Time | Risk of Bubbling |
|---|---|---|---|
| Water Borne Poly | 2 to 4 Hours | 7 Days | Medium |
| Oil Based Poly | 8 to 24 Hours | 30 Days | High |
| Moisture Cure Urethane | 4 to 8 Hours | 14 Days | Very High |
| Hardwax Oil | 12 to 24 Hours | 10 Days | Low |
Why your applicator technique is ruining the job
Overworking the finish with a brush or roller is the primary way that air is mechanically introduced into the liquid. You are not painting a fence. You are flowing a finish. If you whip the finish with a roller you are creating a foam. Those tiny bubbles might look like they are disappearing but many of them will stay suspended in the high viscosity liquid. By the time the finish levels out the top has already started to skin over. Use a T bar or a high quality natural bristle brush. Do not shake the can. Stir it gently. Shaking a gallon of polyurethane is like making a milkshake. You will never get the air out in time for the application. You should also avoid high speed fans. While you want air circulation to help with drying a fan blowing directly on a wet floor will cause the surface to dry too fast and trap air. It is a delicate balance between airflow and surface tension.
The role of inter coat abrasion
Failing to properly scuff sand between coats prevents the finish from leveling correctly and can lead to surface tension issues. The second coat needs a mechanical bond to the first coat. If the first coat is too smooth the second coat will bead up like water on a waxed car. This is called crawling. As the finish crawls it can trap air in the voids. I use a 220 grit screen for most of my inter coat abrasion. You want to see a fine white powder. That powder tells you the finish is dry enough to sand. If the sandpaper gums up you need to stop immediately. The finish is too soft. If you apply a second coat over a gummy first coat you are asking for a disaster. After sanding you must remove every single speck of dust. A vacuum with a HEPA filter is best followed by a microfiber tack cloth. Any dust left on the floor will act as a nucleation point for bubbles.
“The finish is a skin, and if the wood cannot breathe before the skin hardens, the air will find its way out by force.” – Master Flooring Axiom
Checklist for a bubble free hardwood finish
- Check the room temperature and ensure it is between 65 and 75 degrees Fahrenheit.
- Verify that the relative humidity is below 50 percent for optimal curing.
- Turn off the HVAC system while applying the finish to prevent dust and excessive airflow.
- Close all curtains and blinds to prevent direct sunlight from hitting the wet floor.
- Stir the finish gently with a flat stick instead of shaking the container.
- Use a high quality applicator and maintain a wet edge throughout the entire process.
- Wait the full recommended time between coats and perform a thumbprint test for hardness.
- Screen the floor with a 220 grit pad and vacuum thoroughly before the final coat.
The contrarian truth about underlayment and thickness
While most people want the thickest underlayment possible thinking it adds luxury, too much cushion actually causes the locking mechanisms on LVP or engineered wood to snap under pressure. The same logic applies to finish. People think a thick coat of poly provides more protection. It actually does the opposite. A thick coat is much more likely to bubble and much more likely to peel later. Two thin coats will always out perform one thick coat. The chemistry of the bond is stronger when the film is thin and can cure evenly from the bottom up. If you are looking at your floor and seeing bubbles right now do not try to pop them while the finish is wet. You will make it worse. Let it dry completely. You will have to sand the floor back down to the wood in those spots and start over. It is a hard lesson to learn but the floor does not care about your schedule. The floor only cares about the physics of the bond.