
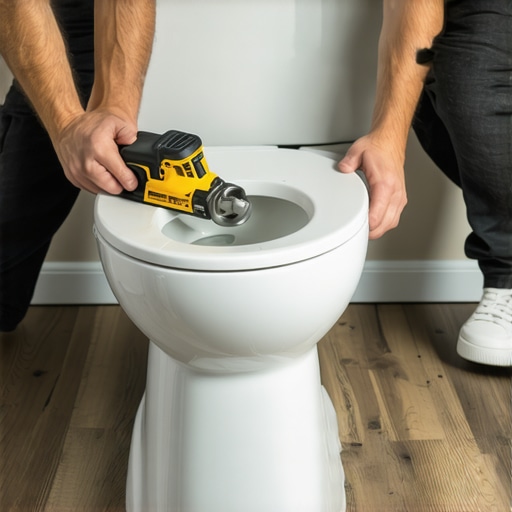
Homeowners always ask why their waterproof vinyl or laminate is buckling around the bathroom fixtures. Usually, it is because they locked it under a heavy kitchen island or a toilet base, killing the floor ability to breathe. I have seen it a hundred times. A beautiful plank install goes south because the installer forgot that even a floating floor needs to move. They think waterproof means the floor is an island. It is not. Last month I had to rip out a three-month-old floor because the DIYer used a hammer and a prayer instead of a template and a bead of silicone. The laminate core absorbed the condensation from the porcelain and swelled like a sponge. That is a costly mistake that stems from ignoring the physics of the subfloor. Laminate is a composite of high-density fiberboard, or HDF. It is essentially wood flour and resin under massive pressure. When you cut into that factory-sealed edge, you are opening the veins of the plank. If you do not seal that cut around the toilet base, the moisture from the bathroom air or a slow leak will find its way in. It will ruin the installation. You need to treat this as a structural engineering task, not just a puzzle piece. Every fraction of an inch counts toward the long-term survival of the surface.
The liquid enemy under the porcelain
A toilet base creates a unique mechanical stress point for laminate flooring because it introduces moisture and weight simultaneously. Most installers fail to realize that porcelain toilets act as a heat sink. They stay colder than the room air. This temperature differential causes condensation to form on the exterior of the tank and the base. This water drips down. It sits right at the edge of your cut. If that cut is not perfectly executed and sealed, the HDF core will expand. This expansion happens at a molecular level as the wood fibers absorb the liquid. The resins can only do so much. You must maintain a 1/4 inch expansion gap even around the toilet. This sounds counterintuitive. Most people want a tight fit. A tight fit without a seal is a death sentence for the floor. You provide the gap for movement, then you fill that gap with 100 percent silicone. This creates a flexible, waterproof gasket. It allows the floor to shift as the house breathes while keeping the water out. Unlike hardwood floors, laminate cannot be sanded once it cups. If it swells, the game is over.
“A floor is only as good as the subfloor beneath it; deflection is the enemy of every joint.” – Master Flooring Axiom
The physics of the HDF core and moisture
High Density Fiberboard is the engine of the laminate plank and its density determines the swell rate. Not all laminate is created equal. You have some boards that are 8mm thick and others that go up to 12mm. The thicker boards offer more stability in the locking mechanism but they also provide more edge surface area for moisture to penetrate. When we talk about the chemistry of these boards, we are looking at the urea-formaldehyde or melamine-formaldehyde resins that bind the fibers. These resins are water-resistant, not waterproof. If you leave a cut edge exposed near a shower or a toilet, the capillary action will pull water into the center of the plank. This causes the decorative wear layer to delaminate. You will see the edges start to lift. This is called peaking. It happens because the core is expanding and the only place for the material to go is up. This is why the gap is not a suggestion. It is a requirement of the physics of the material. You are managing the expansion coefficient of the wood fibers against the static position of the toilet flange. If the floor has nowhere to go, it will buckle. It will ruin the visual lines you worked so hard to create.
| Material Type | Typical Density (kg/m3) | Expansion Rate (%) | Ideal Gap (Inches) |
|---|---|---|---|
| Standard Laminate | 800-900 | 0.15 | 1/4 to 3/8 |
| Water-Resistant Laminate | 900-1000 | 0.08 | 1/4 |
| Engineered Hardwood | 700-800 | 0.12 | 1/2 |
| Solid White Oak | 750 | 0.20 | 3/4 |
The template method for a perfect radius
Creating a paper or cardboard template is the only way to ensure the cut matches the specific footprint of your toilet base. No two toilet bases are identical. Some have a sharp taper, while others have a wide, bulbous foot. Do not try to measure this with a ruler. You will fail. Take a piece of heavy butcher paper or the laminate box itself. Lay it against the toilet. Scribe the line. This is where the old-school techniques beat the new tech. Use a compass or a simple block of wood to trace the curve. This ensures that the 1/4 inch gap is uniform all the way around. Once you have your template, transfer it to the plank. Remember to check which side of the plank you are cutting. Most jigsaws cut on the up-stroke. This means they pull the wood fibers upward. If you cut from the top, you risk chipping the decorative aluminum oxide wear layer. This layer is what gives the floor its Janka-equivalent hardness. It is brittle. If it chips, the floor looks like junk. Always cut from the back of the plank or use a specialized down-stroke blade to keep the finish clean.
- Use a fine-tooth jigsaw blade with at least 20 TPI.
- Ensure the subfloor is level within 1/8 inch over 10 feet.
- Trace the template onto the back of the laminate plank.
- Cut slowly to avoid overheating the resin in the HDF core.
- Test fit the piece before applying any adhesive or tapping it into place.
- Clean the subfloor around the flange to ensure the silicone bonds.
Why your jigsaw blade is burning the core
Heat is the enemy of the cutting process because it melts the resins and dulls the blade. If you see smoke while cutting around the toilet curve, you are moving too slow or using the wrong blade. A burnt edge is more porous than a clean cut. It will absorb moisture faster. You want a sharp, clean shear. This is why I prefer a jigsaw with a variable speed trigger. You need to find the rhythm. The vibration of the saw can also cause the locking tongue of the laminate to snap. This tongue is the only thing holding your floor together. If you snap it while cutting the radius, the plank will eventually drift. You will end up with a gap in the middle of your bathroom floor. I have seen guys try to use a hole saw for this. That is a mistake. A hole saw is too aggressive. It creates too much heat. Stick to the jigsaw. Use a steady hand. The smell of the cut wood should be fresh, not acrid. If it smells like a campfire, change your blade. You are compromising the integrity of the material before it even hits the floor.
“Standard installation practices for laminate in wet areas require a perimeter seal of 100 percent silicone caulk to prevent topical moisture from reaching the core.” – Master Flooring Axiom
The expansion gap that ruins everything
While most people want the thickest underlayment, too much cushion actually causes the locking mechanisms on laminate to snap under pressure. This is the contrarian truth of the flooring world. People think a thick foam pad will make the floor feel like a cloud. In reality, it creates too much vertical movement. When you step near the toilet, the floor sinks. The locking joint is forced to bend. Eventually, the HDF fatigue sets in and the joint breaks. This is especially dangerous around the toilet because the subfloor is often compromised by old leaks or plumbing cutouts. You need a high-density underlayment that is no more than 3mm thick. This provides the sound dampening you want without the trampoline effect. The subfloor must be a rock. If the plywood is flexing, your laminate will fail regardless of how well you cut the curve. I have spent days grinding concrete high spots just to make sure the floor sits flat. It is the invisible work that makes the visible work look good. If the floor clicks like a castanet when you walk on it, you did not do your homework on the subfloor.
Sealing the deal with chemical barriers
The final step in a bathroom laminate install is the application of a high-grade silicone sealant in the expansion gap. You do not use grout. Grout is for tile. Grout is rigid and porous. It will crack the moment the laminate moves. Hardwood floors might use a color-matched putty, but for laminate, you need the elasticity of silicone. Run a bead around the entire perimeter of the toilet base. This bead acts as a dam. If the toilet overflows or someone misses the mark, the water stays on top of the wear layer. It does not go under. Most people think the toilet should sit on top of the laminate. That is a debate that has raged for years. I prefer to install the floor around the toilet. If you put the toilet on top of a floating floor, you are pinning the floor down. You are preventing it from expanding. This leads to buckling in the hallway. If you must put the toilet on top, make sure the bolts go through oversized holes in the laminate. The floor must be able to move independently of the porcelain. This is the difference between a pro job and a weekend hack.