
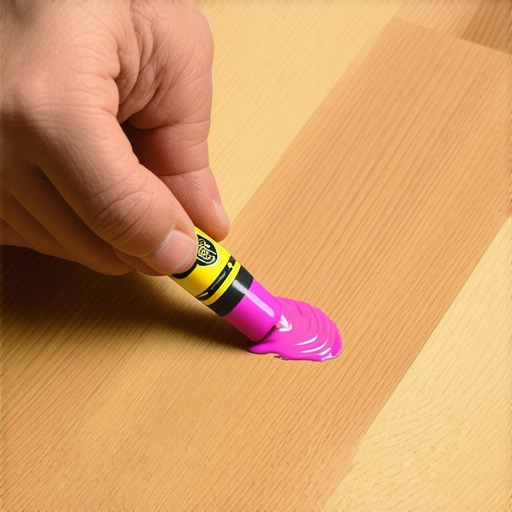
The mechanics of repairing deep wood gouges
I once walked into a house where a $15,000 wide-plank walnut floor was cupping so bad it looked like a potato chip because the installer didn’t check the crawlspace humidity. That job taught me that wood is a living, breathing organism that reacts to every insult, whether it is moisture or a heavy chair leg being dragged across the grain. When you see a deep gouge in your floor, you are not just looking at a cosmetic flaw. You are looking at a structural breach of the protective finish and the cellular integrity of the timber. Repairing this with a melted wood crayon is an art form that requires an understanding of thermoplastic resins and the refractive index of your floor finish.
The reason wax crayons outperform standard wood putty
Wood crayons work better than putty because they remain flexible and bond to the wood fibers through thermal adhesion. Unlike water-based fillers that shrink and crack as they dry, a high-quality melted wax fill expands and contracts with the natural movement of the hardwood planks during seasonal humidity shifts. This prevents the repair from popping out under foot traffic.
Most homeowners reach for a tube of wood filler at the big box store. That is a mistake. Putty is a static solution for a dynamic problem. Hardwood floors are constantly in motion. They swell in the summer and shrink in the winter. A hard, brittle filler will lose its bond within one season. Melted wax, specifically the hard burn-in sticks used by cabinet makers, consists of carnauba and paraffin blends that mimic the density of the wood itself. This material fills the void and seals the wood from moisture, which is the primary enemy of any flooring installation.
“A floor is only as good as the subfloor beneath it; deflection is the enemy of every joint.” – Master Flooring Axiom
When you are dealing with a deep gouge, you are dealing with crushed lignin. In a species like White Oak, which has a Janka hardness of 1,360 lbf, a gouge means something heavy exerted enough force to overcome the structural density of the wood cells. You cannot simply sand this out without creating a dip in the floor that reflects light like a funhouse mirror. The goal is to replace the lost volume with a material that has similar light-scattering properties. This is why we use multiple shades of wax to simulate the natural variegation of the wood grain.
The essential tools for a professional wood repair
Professional hardwood repair requires a heat source, a variety of wax sticks, a plastic leveler, and a fine-grit abrasive pad. Using the right tools ensures that you do not damage the surrounding polyurethane finish while melting the wax into the crevice. You must avoid using a naked flame near your floorboards to prevent scorching the finish.
| Repair Method | Durability Rating | Flexibility | Color Matching |
|---|---|---|---|
| Wood Putty | Low | None | Poor |
| Epoxy Resin | High | Low | Moderate |
| Melted Wax Crayon | Moderate | High | Excellent |
| Shellac Sticks | High | Moderate | Good |
The chemistry of the wax is vital. Hard burn-in sticks are designed to melt at temperatures between 150 and 180 degrees Fahrenheit. If you use a cheap children’s crayon, the melting point is too low and the wax will smear when you walk on it or clean the floor. You need a professional-grade repair kit that includes high-melting-point thermoplastics. These materials are inert and will not react with the acidic tannins in woods like oak or cherry. I have seen guys try to use grout or caulk in wood floors. Hardwood isn’t like a tile shower where you just smear grout and call it a day. Wood needs a material that understands its physics.
Preparing the gouge for thermal bonding
Preparation involves removing loose wood fibers and cleaning the area with a denatured alcohol solution to ensure a clean bond. You must ensure the edges of the gouge are sharp and free of finish flakes. Any debris trapped under the wax will create a visible dark spot that ruins the optical illusion of the repair.
- Inspect the gouge for loose splinters and remove them with a needle tool.
- Clean the area with a lint-free cloth and a non-residue cleaner.
- Select three wax colors, one matching the lightest grain, one for the darkest, and a base tone.
- Pre-heat the melting tool to the specific temperature required by the wax manufacturer.
- Mask off the surrounding area with low-tack blue tape to prevent excess wax buildup.
Most guys skip the leveling compound when they are prepping a subfloor, and they take the same shortcuts with repairs. They think the wax will hide the dirt. It won’t. I spent three days grinding concrete on a job last month just so the floor wouldn’t click like a castanet. The same logic applies here. If the foundation of the repair is dirty, the repair will fail. You need to look at the gouge under a magnifying glass. If there is gray oxidation in the wood, you are seeing moisture damage. That must be scraped away until you see fresh wood. Only then can the wax create a molecular bond with the cellulose.
The technique of layering and sculpting wax
Layering different wax shades allows you to replicate the natural growth rings and heartwood patterns of the plank. You start with the lightest color to fill the base of the gouge and then use darker tones to draw in the grain lines. This process tricks the eye by mimicking how light travels through the wood fibers.
As you melt the wax into the crater, you want to overfill it slightly. The wax will shrink slightly as it cools from a liquid to a solid state. While the wax is still in a semi-pliable state, you use a leveler or a plastic scraper to shave off the excess. Never use a metal putty knife for this. A metal blade will scratch the surrounding polyurethane and leave a permanent mark. The plastic tool is softer than the finish but harder than the wax, allowing for a flush cut. This is where the physics of the repair come into play. You are looking for a perfectly flat surface that does not catch the light when viewed from a low angle.
“Every wood species has a unique cellular structure that dictates its response to mechanical stress and thermal expansion.” – NWFA Technical Manual
While most people want the thickest underlayment for their floors, too much cushion actually causes the locking mechanisms on laminate and LVP to snap under pressure. Wood repair follows a similar counter-intuitive rule. You don’t want a massive glob of wax. You want the thinnest possible layers that achieve the desired color. If the wax is too thick, it loses its structural integrity. You are building a microscopic bridge across a canyon. That bridge needs to be anchored into the grain of the wood on both sides of the gouge.
Sealing the repair for long term durability
The final step is to apply a graining pen and a light coat of aerosol finish to match the sheen of the floor. Without a topcoat, the wax repair will eventually collect dust and turn gray. A spray-on polyurethane or lacquer locks the wax in place and provides the necessary abrasion resistance for foot traffic.
You have to be careful with the sheen. If your floor is a matte finish and you hit it with a high-gloss spray, the repair will stand out like a sore thumb. I always tell my clients to test the spray on a piece of scrap wood first. We are looking for a seamless optical transition. In the world of high-end flooring, the best repair is the one that nobody ever sees. You are a floor surgeon. You have closed the wound, and now you are applying the bandage. If you do it right, that wax fill will last as long as the floor itself, surviving the heavy traffic of a busy household without ever flaking or fading.
The dry heat of Phoenix will shrink your baseboards until they show a gap, and it will also dry out a wood repair if it isn’t sealed. In humid climates, the wood will swell and try to squeeze the wax out of the hole. This is why the chemical bond is the most important part of the job. You aren’t just filling a hole. You are engineering a solution that accounts for the environmental variables of your specific region. Do not settle for a quick fix that will fail in six months. Take the time to melt the wax, sculpt the grain, and seal the surface like a master craftsman.