
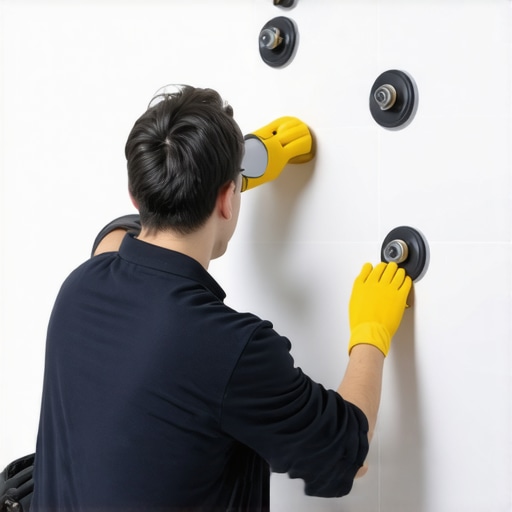
I spent three days grinding concrete on a job last month just so the floor wouldn’t click like a castanet. Most guys skip the leveling compound. They think the underlayment will hide the dip. It won’t. I have seen it a thousand times where a beautiful porcelain installation fails because the installer was too lazy to check for floor flatness with a 10 foot straightedge. When you are dealing with a single cracked tile in the middle of a pristine floor, the stakes are even higher. You cannot just go in there with a sledgehammer and hope for the best. You need a surgical approach. That is where the suction cup method comes into play. It is not just about pulling a piece of stone or ceramic. It is about understanding the vacuum pressure and the chemical bond of the thin-set beneath it. If you do not respect the physics of the bond, you will end up replacing ten tiles instead of one.
The physics of the vacuum seal in tile extraction
The suction cup method relies on atmospheric pressure to create a mechanical lift that exceeds the remaining bond strength of the mortar after perimeter isolation. By creating a vacuum between the rubber cup and the non-porous surface of the tile, you can apply vertical force that avoids lateral stress on the adjacent units. This is critical because lateral vibration is what shatters the edges of your perfectly good grout lines. When you apply this lift, you are fighting against the tensile strength of the modified thin-set. Most modern mortars are polymer-modified, meaning they have a flexible plastic-like bond that does not just snap. It stretches. You have to break that stretch without sending a shockwave through the rest of the floor.
Why your subfloor is lying to you
Every subfloor has a secret. Whether it is plywood or a concrete slab, it is moving. Wood expands and contracts with humidity. Concrete shrinks and cracks over decades. If you have a single tile that cracked while the others stayed intact, the subfloor likely has a localized stress point. Before you even reach for a suction cup, you must understand if the failure was caused by a hollow spot or a reflective crack in the slab. If the mortar was not applied with the correct notch trowel, you have air pockets. These pockets are your best friend during a suction cup extraction because they provide a starting point for the bond to fail. Without those air gaps, you are essentially trying to pull up a piece of the house itself.
“A floor is only as good as the subfloor beneath it; deflection is the enemy of every joint.” – Master Flooring Axiom
The 1/8 inch that ruins everything
Precision is not a suggestion in flooring. It is the law. When you are prepping for a suction cup lift, your grout joint is your only buffer. If you do not completely clear that 1/8 inch or 1/16 inch gap down to the substrate, the suction cup will pull the neighboring tiles right along with the broken one. You must use a diamond-tipped carbide blade or a high-frequency oscillating tool to turn that grout into dust. Do not rush this. If you nick the edge of the surrounding tile, the repair will look like an amateur job. I have seen guys try to skip this and use a flathead screwdriver. That is a one-way ticket to chipped enamel and a phone call to a lawyer.
Comparing material resilience and repair difficulty
| Material Type | Janka Hardness / PEI Rating | Adhesive Bond Type | Repair Complexity |
|---|---|---|---|
| Solid White Oak | 1360 (Janka) | Mechanical / Cleat | High |
| Porcelain Tile | PEI 4-5 | Thin-set (Chemical) | Moderate |
| Laminate Flooring | N/A (AC4) | Click-Lock (Floating) | High (Systemic) |
| Engineered Hardwood | 1250+ (Janka) | Glue Down / Floating | Moderate |
The tool kit for surgical tile removal
To execute this properly, you need more than just a plunger from the hardware store. You need industrial-grade equipment. The chemistry of the bond is too strong for cheap plastic tools. You need a triple-headed suction lifter rated for at least 100 pounds of vertical pull. You also need a heat gun. Heat is the secret weapon that most people ignore. By heating the surface of the tile to roughly 150 degrees Fahrenheit, you soften the polymers in the thin-set. This reduces the bond strength just enough for the vacuum to win the tug-of-war.
- Industrial triple-cup vacuum lifter with pressure gauge
- Variable speed oscillating tool with diamond grit blade
- High-output heat gun for polymer softening
- HEPA vacuum for immediate silica dust extraction
- Non-marring rubber mallet for vibrational assistance
The ghost in the expansion gap
Floors need to breathe. Even tile, which seems static, is subject to thermal expansion. If your tile was installed tight against the baseboards with no perimeter expansion gap, the pressure has nowhere to go. This often results in tenting or cracking. When you use a suction cup to pull a tile, you are temporarily relieving that pressure. Be careful. I have seen tiles practically jump out of the floor once the grout was cut because the floor was under so much compression. This is especially common in large open-plan rooms where the installer forgot to put in a movement joint every 20 feet. If you are working in showers, the problem is even worse because the moisture behind the tile adds hydrostatic pressure to the mix.
The myth of waterproof laminate and hardwood floors
People love to talk about waterproof laminate. It does not exist in the way they think it does. While the surface might be resin-impregnated, the joints are the weak point. If you have a leak in your showers that migrates under your bathroom tile and hits the transition to hardwood floors, you are in for a nightmare. Wood fibers soak up that moisture and expand. This expansion can actually push against your tile installation, causing the very cracks you are trying to fix with a suction cup. Flooring is an ecosystem. You cannot fix a tile in a vacuum without looking at what the hardwood or laminate is doing in the next room.
“Modern thin-set mortars are designed for permanent adhesion; removing a single unit requires more force than the original installation.” – Master Flooring Axiom
Step by step suction cup extraction protocol
First, clear the grout. Every single grain of sand must be gone from the perimeter of the target tile. Use a vacuum to ensure the channel is deep and clean. Second, clean the tile surface with denatured alcohol. Any dust or oils will break the vacuum seal and cause the suction cup to slip. Third, apply heat. Move the heat gun in a circular motion for five minutes. Do not keep it in one spot or you might scorch the finish or cause a thermal crack in adjacent tiles. Fourth, attach the suction cups and lock the levers. Fifth, apply steady upward pressure. Do not jerk it. While pulling, have an assistant lightly tap the center of the tile with a rubber mallet. These micro-vibrations help break the bond of the mortar. The tile should eventually release with a dull thud. If it does not budge, you may need to carefully drill a small hole in the center to relieve the vacuum of the mortar itself.
Managing the chemical residue of the thin-set
Once the tile is out, your job is only half done. The suction cup got the tile out, but it left a mountain of hardened mortar behind. You cannot just slap new thin-set on top of old thin-set. The bond will be weak and the new tile will sit too high. You have to scrape the substrate back down to the original level. This is the part everyone hates because it creates a cloud of dust. Use a wet sponge to keep the dust down and a sharp chisel to pop the old mortar off. If you did the heat treatment earlier, the mortar should be slightly more brittle and easier to remove. Check the level. If you are off by even a hair, the new tile will catch the light and look like a mistake every time you walk past it.
The reality of grout color matching
You will never match the grout perfectly. I don’t care what the bag says. Grout in your showers or kitchen has been cured and exposed to cleaners for years. It has a patina of age. When you put in the new tile and fresh grout, it will look bright and fake. To combat this, I usually mix my grout with a little bit of the old grout dust I vacuumed up earlier, or I use a specialized grout stain to blend the repair into the surrounding floor. It is about the details. If you want the floor to look like it was never touched, you have to be a bit of an artist and a chemist at the same time.