
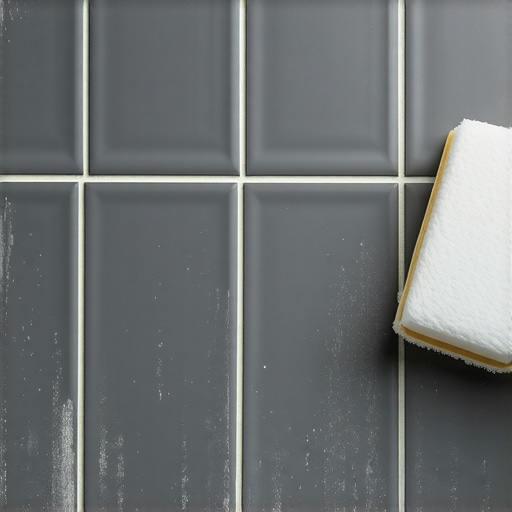
I once walked into a house where a custom slate floor, costing the homeowner a cool twenty grand, looked like it had been dusted with powdered sugar. The installer had vanished. The homeowner was frantic. They thought the stone was dying. It wasn’t the stone. It was a failure of chemistry and a fundamental misunderstanding of the hydration process. Most guys skip the leveling compound. They think the underlayment will hide the dip. It won’t. I spent three days grinding concrete on a job last month just so the floor wouldn’t click like a castanet, and that same level of obsessive prep is what prevents your grout from turning into a chalky mess. You cannot treat a floor like a decoration. It is a structural engineering challenge. If you ignore the physics of the subfloor or the chemistry of the water, you are setting yourself up for a heartbreak that no amount of scrubbing will fix.
The white ghost in the shower
Grey grout turns white primarily due to efflorescence, which is the migration of soluble salts to the surface of a cementitious material. As moisture evaporates from the grout joint, it carries calcium hydroxide to the surface, where it reacts with carbon dioxide to form white calcium carbonate deposits. This is not a stain. It is a crystalline structure. To understand why your dark charcoal grout looks like it has been bleached, we must look at the molecular reality of Portland cement. Cement is not a drying material; it is a hydrating material. When you add water, you trigger a chemical reaction that creates calcium-silicate-hydrate (C-S-H) gel. If the water-to-cement ratio is too high, or if the subfloor is dumping moisture into the assembly, the excess water creates capillary channels. These channels are highways for salt. When the water eventually finds the surface, it leaves the salt behind. It happens fast. It stays long. It ruins the aesthetic of every high-end shower or kitchen backsplash because the installer was too lazy to measure his water with a graduated cylinder. I see it every day. People want the look of deep basalt, but they end up with the look of a salt flat in Utah.
“A floor is only as good as the subfloor beneath it; deflection is the enemy of every joint.” – Master Flooring Axiom
Why your subfloor is lying to you
Subfloor moisture content is the silent killer of grout color consistency because it provides a constant source of transport for internal salts. Even if the surface looks dry, a concrete slab with a high relative humidity (RH) percentage will push moisture upward through the thin-set and into the grout joints. This is particularly problematic with large-format tiles. The only place for that moisture to escape is through the narrow grout lines. This concentrated evaporation leads to massive efflorescence buildup. I tell people all the time that you cannot trust your eyes. You need a moisture meter. If you are laying tile over a slab that is still curing, or if you failed to use a proper vapor retarder, your grey grout will never stay grey. It will be a perpetual factory for white dust. The same logic applies to hardwood floors. If the subfloor is wet, your oak will cup and your grout will bloom. You have to respect the hygroscopic nature of these materials. If you do not, the floor will fight back. It will buckle. It will discolor. It will fail.
The 1/8 inch that ruins everything
Grout joint width and depth dictate the rate of evaporation and the resulting concentration of mineral deposits on the surface. A 1/8 inch joint may seem small, but the volumetric space within that gap holds a specific amount of moisture that must be evacuated during the curing process. If the joint is too deep, the bottom of the grout stays wet while the top dries. This differential creates a vacuum that pulls minerals to the surface. It is pure physics. You also have the issue of the sponge. Most installers use way too much water during the cleanup phase. They are literally washing the pigment out of the top layer of the grout. This creates a porous, weak surface that is highly susceptible to taking on a white, washed-out appearance. You want a damp sponge, not a dripping one. If you see a puddle in the joint while you are cleaning, you have already lost the battle. You have diluted the polymer additives and compromised the structural integrity of the joint.
| Grout Type | Efflorescence Risk | Water Sensitivity | Durability Rating |
|---|---|---|---|
| Sanded Cement | High | Extreme | Moderate |
| Unsanded Cement | Very High | Extreme | Low |
| High-Performance | Low | Moderate | High |
| Epoxy Grout | Zero | None | Maximum |
The chemical betrayal of tap water
Hard water containing high levels of calcium and magnesium will directly contribute to the whitening of grey grout by adding external minerals to the mix. When this mineral-heavy water evaporates from the joint, it leaves behind a crust of lime and scale that masks the original pigment. I always tell my guys to use distilled water if the job site tap water tastes like a penny. It sounds crazy to the DIY crowd, but if you are spending five grand on tile, five dollars on water is cheap insurance. The mineral content in city water varies by season and location. In a place like Phoenix, the water is practically liquid rock. If you mix your grout with that stuff, you are essentially painting your floor with liquid lime. You also have to consider the acidity of the cleaners people use. Many homeowners think they are cleaning their grout when they are actually etching it. They use a harsh bleach or a vinegar solution that reacts with the cement, further weakening the surface and inviting more mineral migration. It is a vicious cycle of chemical destruction.
The acid fix that actually works
Sulfamic acid is the industry standard for removing efflorescence because it effectively dissolves calcium carbonate without being as aggressive or dangerous as muriatic acid. A controlled acid wash strips the white mineral layer and reveals the true pigment of the grout underneath. But you cannot just pour it on. You have to be surgical. You start by saturating the grout joints with clean water. This is the step everyone misses. If the grout is dry when the acid hits it, the acid will soak deep into the joint and eat it from the inside out. By pre-wetting, you ensure the acid stays on the surface where the salt is. You mix a mild solution of sulfamic acid crystals in warm water. You apply it with a stiff nylon brush, scrub for thirty seconds, and then neutralize it immediately with a baking soda and water mixture. This stops the reaction. If you do not neutralize it, the acid will keep working until your grout is a pile of sand. Once it is clean and dry, you must apply a high-quality penetrating sealer. This fills the pores and prevents moisture from bringing new salts to the surface. It is the only way to stop the cycle.
“Cement based grout is a porous limestone sponge; if you do not seal the pores, the environment will fill them for you.” – Master Flooring Axiom
- Pre-wet all grout joints with distilled water to prevent deep acid penetration.
- Apply a 5 percent sulfamic acid solution to a small test area first.
- Scrub the white deposits with a stiff nylon brush using circular motions.
- Rinse the area thoroughly with a neutralizing solution of water and baking soda.
- Allow the floor to dry for 48 hours before applying a solvent-based penetrating sealer.
- Avoid using heavy traffic on the floor until the sealer has fully cured.
Hardwood floors and laminate integration
Transitions between tile and materials like hardwood floors or laminate require specific expansion gaps to prevent pressure-induced grout cracking and subsequent moisture issues. If a wood floor expands into a tile transition, it can compress the grout and cause micro-fractures that invite efflorescence. Laminate is especially prone to this because it is a floating system. It moves. If you butt your tile right up against a laminate plank without a proper T-molding or a flexible silicone joint, that movement will eventually turn your grout to dust. I see it all the time in