
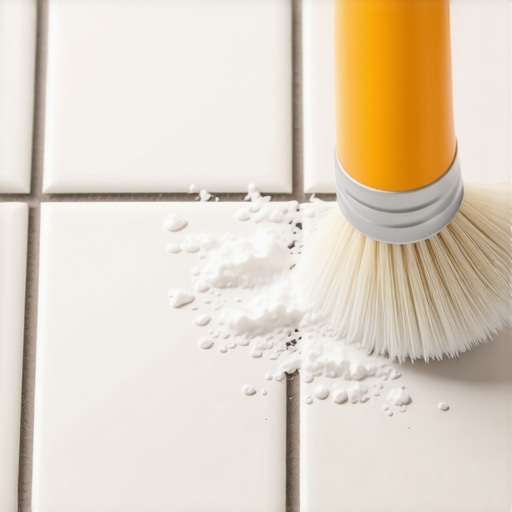
Most guys skip the leveling compound. They think the underlayment will hide the dip. It won’t. I spent three days grinding concrete on a job last month just so the floor wouldn’t click like a castanet. That same philosophy applies to grout. People think a quick spray of a store-bought chemical will fix years of neglect. It won’t. I have seen grout lines that looked like coal mines because the homeowner used a mop that just pushed dirty water into the pores. You have to understand the physics of the surface before you can fix it. Grout is essentially a thin ribbon of concrete. It is porous and thirsty. When you understand the chemistry of baking soda and hydrogen peroxide, you stop cleaning and start restoring.
The science of an alkaline deep clean
Cleaning dirty grout with baking soda and hydrogen peroxide requires an alkaline reaction to lift organic stains from cementitious pores. This combination creates an oxygenated bubbling action that physically pushes dirt to the surface. It is a safe, non-toxic method for showers, tile floors, and backsplashes that avoids damaging the structural integrity of the grout.
When you mix sodium bicarbonate with H2O2, you are creating a mild chemical reactor. The peroxide acts as an oxidizer. It breaks down the long-chain molecules of organic stains like grease, mildew, and skin cells. The baking soda provides a gentle abrasive grit. It does not scratch the glaze of most ceramic or porcelain tiles because its hardness is lower on the Mohs scale. However, it is aggressive enough to scrub the microscopic ‘fines’ of the grout. This is the only way to reach the dirt that has been sucked deep into the cement matrix through capillary action. Most people fail because they don’t give the chemicals time to work. You need a dwell time of at least fifteen minutes. This allows the oxygen to penetrate the subsurface. Without that dwell time, you are just polishing the top of the dirt. I have seen guys try to rush this on showers and they end up with blotchy results. Speed is the enemy of a clean joint.
Why most cleaners fail the porosity test
Standard floor cleaners often contain surfactants that leave a sticky residue inside the grout pores and attract more dirt over time. Professional restoration requires high-pH agents or oxygenating compounds that leave no film behind. Understanding the sand-to-cement ratio of your grout is essential for selecting the correct cleaning pressure and chemical strength.
The grout between your tiles is not a solid block. It is a lattice. If you looked at it under a microscope, it would look like a dried sponge. When you use a standard mop on laminate or tile, the mop gets dirty. That dirty water then settles into the lowest point of the floor. That lowest point is the grout line. The water evaporates and leaves the dirt behind. Over five years, you have literally built a layer of sediment inside your floor. Baking soda acts as a buffer. It neutralizes acids that might be eating away at the cement paste. If you use vinegar, you are actually dissolving the calcium in the grout. I never let vinegar touch a floor I install. It makes the grout brittle. Brittle grout cracks. Cracked grout lets water into the subfloor. Once water hits the subfloor, you are looking at a five-figure repair bill. Stick to the peroxide. It kills the mold without killing the cement.
“A floor is only as good as the subfloor beneath it; deflection is the enemy of every joint.” – Master Flooring Axiom
The reality of moisture in showers
Showers represent the most hostile environment for grout due to constant thermal expansion and hydrostatic pressure from water saturation. Effective cleaning must address both the surface biofilm and the deeper mineral deposits left by hard water. Using a peroxide-based paste ensures that the active oxygen reaches the back of the grout joint where mold spores often hide.
In a shower, you aren’t just dealing with dirt. You are dealing with soap scum which is a complex lipid. Peroxide is excellent at breaking down lipids. If you have a shower where the grout is falling out, cleaning won’t help. You have a structural failure. Usually, it is because the installer didn’t use a waterproof membrane like Kerdi or Wedi. But if the grout is solid and just ugly, the baking soda paste is your best friend. Mix it to the consistency of wet sand. If it is too runny, it won’t stay on the vertical walls. If it is too dry, the chemical reaction won’t happen. Apply it with a stiff nylon brush. Do not use a wire brush. A wire brush will shred the grout and leave metal streaks on your tile. I have seen people ruin a custom marble shower because they got too aggressive with a brass brush. Patience beats pressure every single time.
Protecting laminate and hardwood during the process
Laminate and hardwood floors are highly sensitive to the moisture required for grout cleaning and must be protected with vapor barriers or tape during the process. Any runoff from a peroxide and baking soda mixture can cause permanent swelling or finish degradation on wood-based products. Maintaining a dry perimeter is the most important part of cleaning tile that borders wood surfaces.
If your tile floor meets a hardwood floors transition, you have to be careful. Wood is a hygroscopic material. It wants to suck up any moisture it can find. If you are scrubbing your kitchen tile and you let that peroxide water sit on the oak transition, that oak will blacken. That is a chemical reaction between the water and the tannins in the wood. It is a nightmare to sand out. When I am working near laminate, I am even more paranoid. Laminate is just compressed sawdust with a picture of wood on top. If water gets into the click-lock joint, the core will swell like a sponge. It will never go back down. I always tell people to blue-tape the edges of their wood floors before they even open the baking soda. You want a clear boundary. Use a damp microfiber cloth to rinse the grout near the transitions, never a dripping wet sponge.
Comparing grout cleaning effectiveness
| Method | pH Level | Abrasive Quality | Safety Rating |
|---|---|---|---|
| Baking Soda and Peroxide | 8.5 to 9.0 | Medium-Low | Excellent |
| Vinegar and Water | 2.5 to 3.0 | None | Poor for Cement |
| Commercial Bleach | 11.0 to 13.0 | None | Respiratory Hazard |
| Steam Cleaning | N/A | None | High Risk for Sealers |
Step by step grout restoration checklist
- Vacuum the entire floor to remove loose debris that could scratch the tile.
- Mix 2 parts baking soda with 1 part hydrogen peroxide in a plastic bowl.
- Apply the paste to the grout lines using a dedicated grout brush or an old toothbrush.
- Wait exactly 15 minutes to allow the oxygenation process to lift the deep-set stains.
- Scrub in a circular motion to agitate the pores without gouging the material.
- Wipe away the slurry with a clean, damp microfiber cloth.
- Rinse with clear water and dry immediately to prevent new dirt from settling.
The mechanical failure of grout joints
Grout failure is often a symptom of subfloor deflection rather than poor cleaning habits or chemical choices. If grout lines are consistently cracking or losing sand, the underlying structure likely has too much vertical movement for the rigid nature of the tile assembly. Cleaning these areas requires a gentle touch to avoid accelerating the disintegration of the joint.
I have walked into jobs where the homeowner is frustrated because the grout won’t stay clean. I take one step on the floor and I can feel the bounce. That is deflection. If your joists are undersized or your subfloor is only a single layer of 5/8 inch plywood, that floor is moving. Tile and grout do not move. They are brittle. When the floor bends, the grout breaks. These micro-cracks become magnets for dirt. You can clean them with baking soda every day, but they will be black again by Friday because they are literally sucking up dust from the subfloor cavity. While most people want the thickest underlayment to hide these issues, too much cushion actually causes the locking mechanisms on LVP or the grout on tile to snap under pressure. You need a solid, flat foundation. If your grout is constantly dirty in the same spot, stop scrubbing and start looking at the joists in your basement. You might need to sister some lumber before you worry about the aesthetic. A floor is a system, not a surface. Treat it like engineering and it will last a lifetime.