
The Right Way to Clean Soap Scum Off Your Bathroom Tile
I have spent over twenty-five years on my knees with a moisture meter and a level, and if there is one thing I have learned, it is that a floor is more than a surface. It is a performance system. Most people look at a bathroom and see pretty colors or nice textures. I see a high-stakes engineering environment where water is constantly trying to destroy your subfloor. When you talk about soap scum, you are not just talking about a cosmetic annoyance. You are talking about a chemical film that can harbor bacteria and hide the early warning signs of grout failure. I smell like floor wax and sawdust most days, and I have seen enough rotted joists to know that how you maintain your tile determines whether your house stays standing or starts to sink into the crawlspace. I once spent three days grinding concrete on a job last month just so the floor would not click like a castanet because the previous installer skipped the leveling compound. That same lack of detail is what kills shower floors when people use the wrong cleaning methods. Soap scum is not just dirt. It is a molecular bond of fatty acids and minerals that requires a surgical approach to remove without ruining your grout.
The chemistry of calcified residue
Soap scum is a complex chemical byproduct formed when minerals in hard water like calcium and magnesium react with fatty acids found in traditional bar soaps. This reaction creates a waxy, insoluble substance called calcium stearate that bonds to your tiles and grout with stubborn tenacity. It is not just a film, it is a molecular barrier that traps skin cells and bacteria. When this layer builds up, it becomes a moisture trap. In my shop, I tell customers that if they can feel a waxy texture on their floor, the grout underneath is already in trouble. The moisture cannot evaporate, and that leads to the growth of mold spores inside the cementitious matrix of the grout. You are not just cleaning for looks, you are cleaning to ensure the vapor drive of your shower system remains functional.
“A floor is only as good as the subfloor beneath it; deflection is the enemy of every joint.” – Master Flooring Axiom
Why your grout is drinking the shower water
Grout is a porous cementitious material that acts as a structural bridge between tiles but also functions like a hard sponge for moisture. If your grout is not properly sealed or if the seal has been stripped by harsh cleaners, it will absorb every drop of soapy water that hits it. This leads to internal moisture cycles that can eventually rot the subfloor beneath your shower pan. When you scrub soap scum, you have to be careful not to force the slurry deeper into the pores. This is why I hate those high-pressure steam cleaners for residential use. They can blast the soap residue straight through the grout and into the thin-set. Once the bond between the tile and the substrate is compromised, you are looking at a full rip-out. I have seen fifteen thousand dollar wide-plank walnut floors in adjacent rooms cup and buckle because a shower leak was migrating through the subfloor unnoticed. The bathroom is the heart of your home’s hydraulic pressure, and the grout is the first line of defense.
The hidden danger of acidic cleaners
Many homeowners reach for vinegar or strong acids to melt away soap scum without realizing they are slowly dissolving the cement binder in their grout. While a low pH might break down calcium deposits, it also weakens the structural integrity of the grout joint. Repeated exposure causes the grout to become sandy and brittle, eventually leading to cracks that allow water to bypass the tile surface entirely. If you use vinegar every week, you are basically performing a slow-motion demolition of your shower. I prefer a pH-neutral cleaner specifically formulated for stone and tile. It might take a little more elbow grease, but it does not eat away at the very thing holding your floor together. A contrarian data point that most people ignore is that while you want the thickest underlayment for comfort, too much cushion actually causes the locking mechanisms on LVP or the grout lines on tile to snap under pressure. The same logic applies to cleaners. Stronger is not better. Safer is better for the long term health of the assembly.
| Cleaning Agent | pH Level | Effect on Grout | Best Use Case |
|---|---|---|---|
| White Vinegar | 2.5 | Corrosive | Hard water spots only |
| Neutral Cleaner | 7.0 | Safe | Daily maintenance |
| Alkaline Degreaser | 10.0 | Stripping | Heavy soap scum removal |
| Baking Soda Paste | 8.0 | Abrasive | Spot cleaning grout lines |
Proper tools for the manual scrub
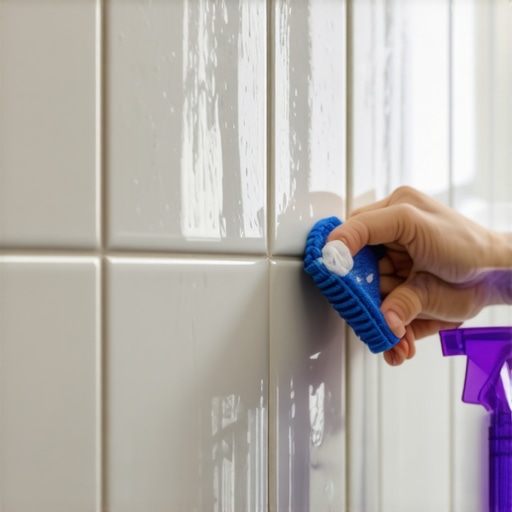
Mechanical agitation is the most effective way to remove soap scum without compromising the chemical stability of your tile installation. You should avoid wire brushes or overly abrasive pads that can scratch the glaze of ceramic or porcelain. A medium-stiff nylon brush is the standard for professional maintenance. It provides enough friction to dislodge the stearate without damaging the finish. When I am prepping a floor for a refinish, I use specific grit sequences. Cleaning tile is no different. You start with the least aggressive method and only move up if the residue refuses to budge. The 1/8 inch of grout between your tiles is the most vulnerable part of the system. If you scrub it with a metal brush, you are creating micro-fissures that will hold more soap scum in the future. It is a self-defeating cycle. Use a circular motion to lift the scum rather than a back and forth sawing motion which can dig into the joint.
- Apply a pH-neutral cleaner and let it dwell for ten minutes to soften the stearate.
- Use a medium-stiff nylon brush to agitate the surface in circular motions.
- Rinse with warm water to flush the dissolved solids away from the grout pores.
- Dry the area immediately with a microfiber towel to prevent new mineral deposits.
- Check the integrity of the grout for any signs of softening or crumbling.
The ghost in the expansion gap
Every tile installation must account for movement and thermal expansion or the joints will eventually fail and trap debris. If your shower floor was installed without proper expansion gaps at the perimeter, the stress will cause the grout to hairline crack. These cracks are like magnets for soap scum and body oils. Once those oils get into the crack, they are nearly impossible to get out. You end up with a dark line that no amount of scrubbing will fix. This is why I always use 100 percent silicone caulk at change-of-plane transitions instead of hard grout. The silicone can flex while the grout cannot. If you see soap scum building up specifically in the corners of your shower, it is a sign that the grout there has failed and is holding onto the waste. You need to scrape it out and replace it with a color-matched sealant. Do not just keep scrubbing. You are fighting a losing battle against physics.
“Grout is not waterproof; it is a filter. The waterproofing happens behind the tile.” – TCNA Handbook Principle
The 1/8 inch that ruins everything
Precision is the difference between a floor that lasts fifty years and one that fails in five. When cleaning, people often ignore the height of the grout relative to the tile edge. If the grout was over-washed during installation, it sits too low, creating a valley where soap scum accumulates like snow in a ditch. If your floor has these deep valleys, your cleaning routine needs to be much more rigorous. You cannot just mop and go. You have to get in there with a detail brush. I have seen people try to install laminate or hardwood floors right up to a leaky shower door because they thought the transition strip would save them. It never does. The moisture from a poorly cleaned and maintained shower will travel under the transition and rot out the neighboring room. It all starts with how you handle that 1/8 inch gap between your tiles. Keep it clean, keep it sealed, and keep it dry.
Laminate and hardwood transitions
High humidity from a poorly ventilated bathroom can cause hardwood floors in the hallway to buckle or laminate edges to peak. If your shower is covered in soap scum, it is likely that you are also dealing with high moisture retention in the room. This humidity is an invisible enemy. While you are focused on the tile, the wood floor three feet away is absorbing the steam. I always recommend a high-quality exhaust fan that runs for at least twenty minutes after a shower. If you don’t keep the moisture down, the soap scum will stay wet and sticky, making it even harder to remove. In dry climates like Phoenix, this might be less of an issue, but in a humid environment, it is a recipe for disaster. I have replaced entire hardwood hallways because a homeowner let their bathroom turn into a swamp. A clean shower is a dry shower, and a dry shower protects the rest of the house.