
I spent three days grinding concrete on a job last month just so the floor wouldn’t click like a castanet. Most guys skip the leveling compound. They think the underlayment will hide the dip. It won’t. I was in a high end remodel in the Pacific Northwest where the humidity was sitting at a constant sixty percent. The homeowner had purchased a beautiful Italian porcelain. If I hadn’t spent those seventy two hours making that slab as flat as a frozen lake, those grout lines would have cracked within six months. The subfloor is the foundation of your reputation. If you ignore the deflection or the moisture content of the slab, the most expensive tile in the world becomes a liability. I smell like WD-40 and oak dust most days because I treat every floor as a structural engineering challenge. When we talk about grout, we are talking about the chemistry of Portland cement and the physics of hydration. A shop vac is not just for cleaning up the mess at the end of the day. It is a precision tool for managing the moisture and debris that ruin a professional finish.
The hidden physics of grout joint preparation
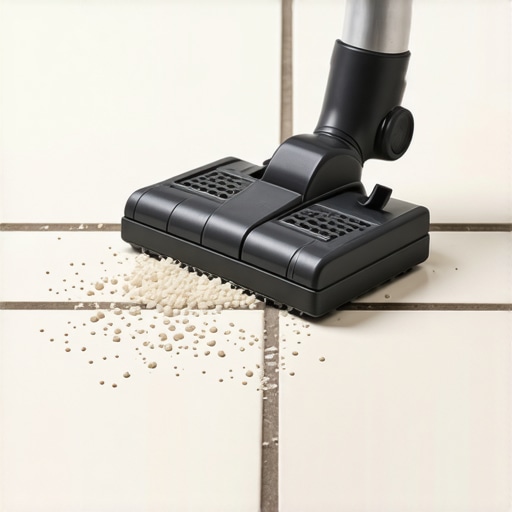
Grout joint preparation requires the complete removal of all thin-set squeeze-out and dust to ensure a proper chemical bond. A shop vac with a narrow crevice tool is the only way to achieve the vacuum pressure necessary to pull microscopic particles out of the pores of the tile edges. If dust remains in the joint, the grout will simply sit on top of a layer of silt. It will not bond to the tile. This leads to the eventual crumbling of the joint. You must ensure that the depth of the joint is consistent. The Tile Council of North America is very clear about the requirements for joint depth and clean surfaces. I use a stiff nylon brush to agitate the dried thin-set and then immediately follow it with the vacuum. This prevents the dust from settling back into the joint or floating into other rooms. In a remodel, dust management is everything. A shop vac with a HEPA filter is mandatory. Without that filter, you are just atomizing the silica dust and coating the entire house in a fine powder.
“A floor is only as good as the subfloor beneath it; deflection is the enemy of every joint.” – Master Flooring Axiom
The danger of over watering your grout
Over watering grout during the cleaning phase causes pigment washout and weakens the structural integrity of the cementitious bond. Most DIY installers and lazy pros use a soaking wet sponge to wipe the tile. This is a disaster. It introduces excess water into the curing process. This water dilutes the polymers and pushes the pigment to the bottom of the joint. The result is a splotchy, weak grout line that will never look right. This is where the shop vac becomes your secret weapon. Instead of using a soaking sponge, I use a damp sponge to loosen the grout haze. Then, I use a vacuum to pull the slurry away from the surface. This technique minimizes the amount of water that actually touches the grout joint itself. It keeps the water to cement ratio perfect. The physics of hydration require a specific amount of water. Anything more than that is a contaminant. In humid climates like the Southeast, this is even more vital because the evaporation rate is so slow. If you add too much water, the grout might stay soft for days.
| Grout Type | Aggregate Size | Cure Time | Moisture Sensitivity |
|---|---|---|---|
| Sanded Grout | Large (0.5mm+) | 72 Hours | Medium |
| Unsanded Grout | Fine Powder | 48 Hours | High |
| Epoxy Grout | Silica Sand/Resin | 24 Hours | Low |
The vacuum extraction method for perfect color
The vacuum extraction method ensures color consistency by removing excess moisture and suspended solids before they can settle into the grout. This approach is particularly effective with dark grouts. Charcoal or black grouts are notorious for turning grey if they are wiped with a wet sponge. The shop vac pulls the pigment-heavy slurry off the tile surface without letting it penetrate the fresh grout line. You must hold the nozzle at a forty five degree angle to the joint. This creates a vortex that lifts the surface water. Do not touch the wet grout with the nozzle. The goal is to use air movement, not physical contact. This is the difference between a floor that looks like it was done by a master and one that looks like a weekend project. I have seen fifteen thousand dollar wide plank walnut floors ruined because the installer didn’t understand moisture. The same logic applies to tile. You are managing the environment as much as the material.
Why your subfloor is lying to you
Subfloors often appear flat to the naked eye but contain subtle dips and peaks that create stress points for tile and grout. You must use a ten foot straight edge to check for flatness. The standard is typically one eighth of an inch over ten feet. If you have a dip, the tile will bridge that gap. When someone walks over it, the tile flexes. This deflection is what kills grout lines. It doesn’t matter how well you mixed the grout. If the floor moves, the grout cracks. This is why I spend so much time on concrete prep. I use a floor grinder to take down high spots. I use self leveling underlayment for the low spots. In regions like Phoenix where the dry heat is intense, the concrete can actually shrink and curl at the edges. You have to account for that. A shop vac is used here to clean the concrete pores before applying a primer. If the primer doesn’t bond, the leveler will delaminate. It is all connected. One failure leads to the next.
- Inspect the subfloor for any deflection using a 10-foot straight edge.
- Remove all old adhesive and paint using a mechanical grinder.
- Vacuum the entire surface twice to remove all fine particulates.
- Apply a high quality primer to ensure the leveling compound bonds.
- Measure the moisture vapor emission rate of the concrete.
The ghost in the expansion gap
Expansion gaps are essential perimeters that allow the floor to move without putting pressure on the grout or the tile edges. Every hard surface floor needs room to breathe. For hardwood floors, the NWFA specifies exactly how much space is needed based on the wood species and the local climate. For tile, you must have an expansion joint every twenty to twenty five feet in each direction. If you butt the tile tight against a wall, the floor will eventually tent. The grout will explode out of the joints as the pressure builds. I see this all the time in