
Most guys skip the leveling compound. They think the underlayment will hide the dip. It won’t. I spent three days grinding concrete on a job last month just so the floor wouldn’t click like a castanet. That job was supposed to be a simple laminate install, but the subfloor was a mountain range of high spots. If you ignore the foundation, the finish will fail. It is the same with showers. One cracked tile is rarely just a cosmetic glitch. It is often the herald of a movement joint failure or a subfloor deflection that is telegraphing through the mortar bed. I have seen fifteen thousand dollar bathrooms ruined because a single installer thought he could just hammer out a center tile without considering the vibration through the waterproofing membrane. You do not want to be that person. You want to be the surgeon who uses physics instead of a sledgehammer.
The hidden tension in your shower wall
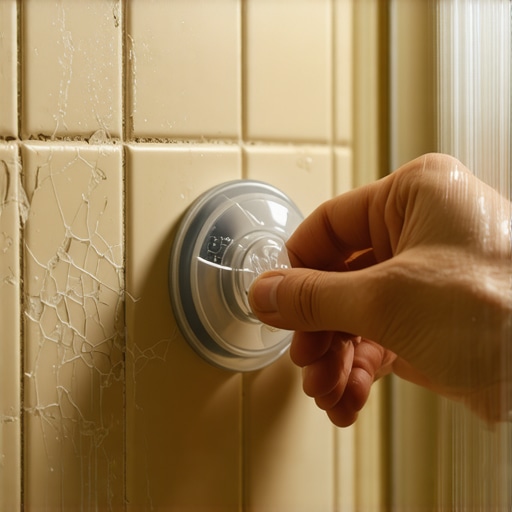
A cracked shower tile occurs when the stress of structural movement exceeds the modulus of rupture for the ceramic or porcelain body. Replacing a single unit requires isolating the mechanical bond of the thin-set without transmitting kinetic energy to the adjacent grout lines or the underlying waterproofing layer. When a tile cracks, it is usually because the substrate expanded or contracted at a different rate than the finish material. This is common in hardwood floors where moisture causes cupping, but in a shower, it is about the rigid nature of the assembly. If you take a hammer and chisel to that one tile, the vibration travels. It travels through the grout, which acts as a bridge, and it travels through the thin-set. You might fix the crack but you will likely blow out the seal on the neighbor. This is why the suction cup trick is the only way to go for a professional result.
“A floor is only as good as the subfloor beneath it; deflection is the enemy of every joint.” – Master Flooring Axiom
The suction cup strategy for precise removal
The suction cup method works by applying vertical tension to the tile surface to break the bond of the mortar once the perimeter grout is removed. This technique avoids the lateral impact forces of traditional demolition and preserves the integrity of the cement board or foam substrate underneath. You need a high-quality glass lifting cup. Not the cheap plastic ones from the discount bin. We are talking about a pump-action vacuum cup that can pull a hundred pounds of pressure. Before you even think about the cup, you have to isolate the tile. You use a multi-tool with a diamond grit blade to carefully grind out the grout around the broken piece. This creates a thermal and mechanical break. You must go deep. You need to see the edges of the tile clearly. If even a sliver of grout remains, the suction trick will fail because the tile is still locked into the grid.
Why percussion tools are the enemy of your waterproofing
Traditional tile removal relies on percussion which creates microscopic fractures in the surrounding grout and can delaminate the waterproofing membrane from the substrate. Kinetic energy from a hammer strike travels through the mortar bed and can compromise the watertight seal of the entire shower pan. When you hit a tile, the energy has to go somewhere. In a modern shower, you likely have a liquid-applied membrane or a fleece-bonded sheet like Kerdi. These are tough, but they are not designed to withstand a chisel being driven into them. If you puncture that membrane, you are looking at a slow leak that will rot your studs over the next five years. The suction cup avoids this by pulling the tile up and away from the membrane. It is about tension, not impact.
The molecular dance of thin-set and water
Thin-set mortar creates a mechanical bond by growing crystalline structures into the microscopic pores of the tile and the substrate during the hydration process. Breaking this bond through suction requires overcoming the shear strength of these crystals without shredding the underlying surface of the wall board. Most people think thin-set is just glue. It is not. It is a chemical reaction. When you mix that powder with water, you are starting the formation of Calcium Silicate Hydrate (C-S-H) gels. These gels grow into the nooks and crannies. Over time, these crystals become incredibly strong. When you use a suction cup, you are trying to snap these tiny crystals all at once. Sometimes, if the bond is too strong, you might need to use a heat gun to slightly soften the polymers in the thin-set. This makes the crystals more brittle and easier to pop.
Removal Method Performance Metrics
| Method | Vibration Risk | Substrate Damage | Speed | Precision |
|---|---|---|---|---|
| Hammer and Chisel | High | Extreme | Fast | Low |
| Rotary Hammer | Very High | Total Destruction | Instant | None |
| Suction Cup | Zero | Minimal | Slow | Total |
| Heat and Pry | Low | Moderate | Medium | Medium |
Why your grout is a sponge
Grout is a porous cementitious material that absorbs moisture through capillary action which can weaken the bond of the tile over time if not properly sealed. When replacing a tile, the new grout must match the chemical composition of the old to ensure a uniform rate of expansion. If the original installer used a standard Portland cement grout, it is essentially a hard sponge. If they used epoxy, you are in for a harder time with the removal. Epoxy grout is practically plastic. It does not grind easily. It melts. This is why knowing your materials is the difference between a one-hour fix and a two-day nightmare. When you put the new tile back in, you have to make sure the cavity is clean. Every bit of old thin-set must be scraped away. If the new tile sits even a fraction of an inch higher than the old ones, it will catch the light and look like a DIY disaster.
The precision tile replacement checklist
- Clear the room of all rugs and debris.
- Tape off the surrounding tiles with three layers of blue painter tape.
- Grind the grout lines using a vacuum attachment to capture dust.
- Check for any remaining grout bridges with a utility knife.
- Apply the vacuum suction cup to the center of the broken tile.
- Apply steady upward pressure while tapping the tile edges with a rubber mallet.
- Scrape the substrate clean with a carbide scraper.
- Test fit the new tile for height and spacing.
“The Tile Council of North America specifies that the bond strength of thin-set must reach a minimum of 50 PSI for ceramic tile, but environmental factors often double this requirement.” – TCNA Technical Handbook
The ghost in the expansion gap
Movement joints are the most ignored aspect of shower construction and the primary reason why single tiles crack under the pressure of house settling. Proper installation requires a flexible sealant at all change of plane locations to absorb the energy that would otherwise shatter the tile. If the tile you are replacing is near a corner, look at the grout. If there is hard grout in the corner, that is why it cracked. The TCNA mandates caulk or a flexible sealant at every corner. Hard grout in a corner is a mistake. It does not allow for movement. When the house breathes, the corner pinches the tile. Snap. There goes your porcelain. When you finish this repair, do not put grout in that corner. Use a color-matched 100 percent silicone sealant. It will save you from having to do this job again in six months.
The fraction of an inch that ruins everything
Subfloor levelness and wall plumbness are the invisible masters of any flooring project and even a 1/8 inch deviation can lead to lippage that ruins the aesthetics of a tile repair. Ensuring the new tile is perfectly flush requires meticulous control over the thin-set trowel depth and mortar consistency. You cannot just glob the mud on the back of the tile. That is called back-buttering without intent. You need to use a notched trowel to create ridges. These ridges collapse when you press the tile in, allowing air to escape. If air is trapped, the tile will sound hollow. A hollow tile is a weak tile. It will crack the first time someone bumps it with a shampoo bottle. You want a solid, monolithic bond. Use a high-polymer thin-set for the replacement. It provides more flexibility than the cheap stuff and will handle the moisture of a shower much better. It is about building a floor that lasts longer than the mortgage.