
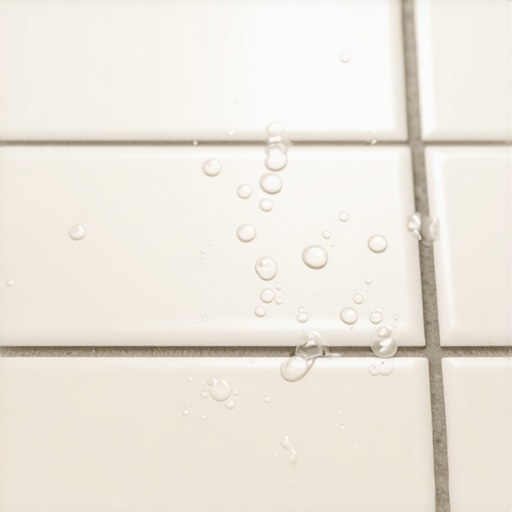
I once walked into a house where a custom travertine shower was literally falling through the floor into the crawlspace because the homeowner assumed grout was a waterproof barrier. It is not. Grout is a porous, sandy bridge that connects your tiles. I spent three days on my knees with a hammer and chisel removing saturated mortar because a simple five-minute maintenance check was ignored for a decade. People spend thousands on high-end tile but treat the grout like an afterthought. That is a recipe for structural rot. If you want to protect your subfloor and your investment, you need to understand the physics of the water drop test and the molecular reality of cementitious joints.
The physics of grout saturation
Grout is a porous mixture of cement and sand. Without a sealer, the microscopic voids between the particles act like straws, drawing liquid deep into the substrate. The water drop test identifies if these capillaries are open or closed to moisture infiltration. When you mix cementitious grout, the water that facilitates the chemical hardening process eventually evaporates. This evaporation leaves behind a labyrinth of microscopic tunnels. If these tunnels are not filled with a penetrating sealer or covered by a topical barrier, surface tension will pull water into the wall. This is not just about aesthetics or staining. It is about the integrity of the thin-set bond and the prevention of efflorescence, which is that white, crusty salt deposit that ruins a clean look. You are looking for a meniscus to form on top of the grout line rather than the liquid disappearing into the shadows of the joint.
Execution of the droplet method
To perform the test, place several drops of clean water on a clean, dry grout line. If the water beads on the surface, the sealer is intact. If the grout darkens and absorbs the water within minutes, the protective barrier has failed and requires reapplication. You cannot do this test on a dirty floor. Oils, soap scum, and skin cells create a false barrier that might mimic a sealer. I always tell my clients to scrub a small section with a pH-neutral cleaner and let it dry for at least twenty-four hours before testing. Use a dropper or a straw to place the water. You should check multiple areas, especially the high-traffic zones in the center of the room and the splash zones in showers. If the water vanishes in less than sixty seconds, your grout is essentially a sponge. If it takes five minutes to soak in, your sealer is thinning and nearing the end of its lifespan.
“A floor is only as good as the subfloor beneath it; deflection is the enemy of every joint.” – Master Flooring Axiom
Why your shower depends on a seal
Moisture behind tile leads to structural rot. When grout loses its seal in a shower, water bypasses the surface and saturates the thin-set or backer board. This leads to mold growth and eventual structural failure of the wall or floor assembly. Showers are the most aggressive environments in a home. The constant cycle of wetting and drying, combined with the chemicals in shampoos and soaps, strips away sealer faster than any other area. In regions with high humidity like the Gulf Coast, an unsealed shower is a breeding ground for mildew that lives inside the grout pores. Once mold takes root inside the cement matrix, you cannot simply scrub it off. It becomes part of the floor. Sealing creates a hydrophobic environment that forces water to run down the drain instead of into your wall studs. If you see the grout lines stay dark long after the shower has been used, that is a sign of deep saturation.
The chemistry of grout sealers
Modern sealers utilize fluoropolymers or silanes to create a tension field that repels both water and oils. Penetrating sealers soak into the pores and chemically bond with the cement, while topical sealers create a film on the surface. I prefer penetrating sealers because they do not change the look of the tile and they allow for vapor transmission. This is critical. A floor needs to breathe. If you trap moisture under a topical film, you get cloudy spots and peeling. We call this blushing. High-quality sealers use a solvent or water carrier to deliver the protective solids into the grout. Once the carrier evaporates, the solids remain behind to plug the holes. While most people want the thickest underlayment or the flashiest sealer, too much product can actually lead to a sticky residue that attracts dirt. It is about the right balance of saturation.
| Grout Category | Porosity Rating | Sealing Requirement | Standard Lifespan |
|---|---|---|---|
| Standard Sanded | High | Mandatory | 1 to 3 Years |
| Unsanded Cement | Moderate | Mandatory | 1 to 2 Years |
| Polymer Modified | Low | Recommended | 3 to 5 Years |
| Epoxy Grout | Zero | Never | Lifetime |
How hardwood and laminate interact with moisture
Hardwood floors and laminate products have entirely different moisture profiles compared to tile, but they all share a common enemy in subfloor dampness. Grout failure often telegraphs moisture issues that can eventually migrate to adjacent wood flooring materials. If you have a tile bathroom bordering a hallway with hardwood floors, a leak in the grout can travel through the subfloor and cause cupping in your oak planks. Hardwood reacts to moisture by expanding across the grain. Laminate flooring, which is often a fiberboard core, will swell at the edges and never return to its original shape. I have seen entire levels of flooring ruined because a shower pan leaked into the joist space and affected the humidity levels of the whole house. Keeping your grout sealed is a defensive move for every floor in your home. You are maintaining a dry envelope.
“Cementitious grout is inherently porous and requires a sealer to resist moisture and stains.” – TCNA Handbook Guidelines
The checklist for a successful sealing project
- Deep clean all grout lines with a professional grade oxygenated cleaner.
- Rinse the area thoroughly to remove all chemical residue.
- Allow the grout to dry for a minimum of 24 to 48 hours.
- Apply a high-quality penetrating sealer using a brush or applicator bottle.
- Wipe excess sealer off the tile surface within ten minutes to prevent hazing.
- Let the sealer cure for 24 hours before allowing foot traffic.
- Wait 72 hours before exposing the area to water or cleaners.
The ghost in the expansion gap
Every floor needs room to move and grout is the most rigid part of the system. If your grout is cracking, it might not be a sealer issue but a structural deflection problem. Grout cannot handle tension. It only handles compression. When a subfloor flexes because it is too thin or the joists are spaced too far apart, the grout joints are the first thing to snap. I see guys try to seal over cracks all the time. It does not work. A crack is a canyon for water. If your water drop test fails specifically at the site of a crack, you have a movement issue. You should use a color-matched caulk in the corners and transitions instead of hard grout. Siliconized acrylic caulk allows for the expansion and contraction that occurs with seasonal temperature changes, especially in areas with harsh winters where heating systems dry out the air. In these cases, the water drop test is your first diagnostic tool for a much larger architectural failure.